Some of you might have noticed in the run up to Chingay 2010 that I stuck fans in the RG helmet. I've been tinkering with this for quite some time and I think I've more or less settled on a good workable system, so it's time to upload something for future costumers, especially Royal Guards.
Ingredients
Basic tools like soldering iron, etc.
2pcs of 4 x AA parallel battery pack
2pcs 12V 1.5A tube fans
Wires and sleeves
... and a connector. This one was salvaged from a fluorescent light fixture. I have no idea where to buy it. Everything else could be bought at Sim Lim TOWER.
Circuit Diagram
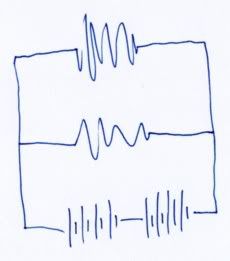
I can't make nice diagrams. Batteries in series, fans in parallel.
Note: this is the BASIC design. It really doesn't look that way when applied to the curves of helmet. That would look more like ...
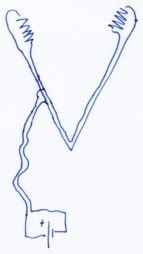
... like the Stethoscope of Doom.
Being totally clueless at physics, I learnt the hard way that connecting fans in parallel doubles the current, making them spin like the PC fans they're supposed to be. As opposed to when I connected them in series for the full-dress rehearsal. Those were hamster wheels.
Pics!

This is the RHS fan. The original PC connectors and Earth wire were cut. I used the two-wires-stuck-together kind for cabling. I might add grilles to the fan, just in case (also bought at Sim Lim Tower).
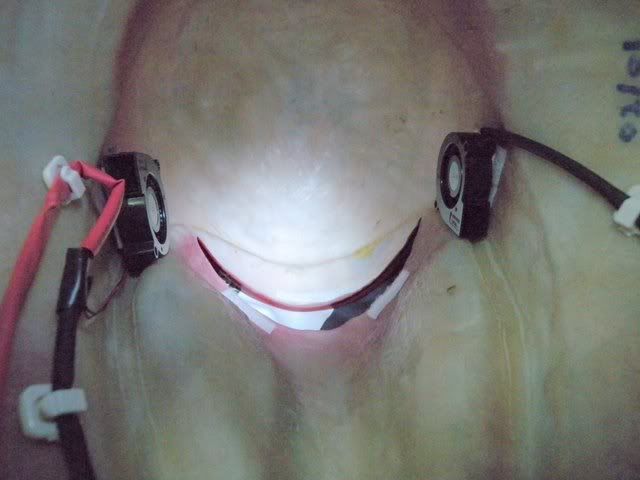
Location of fans in helmet.
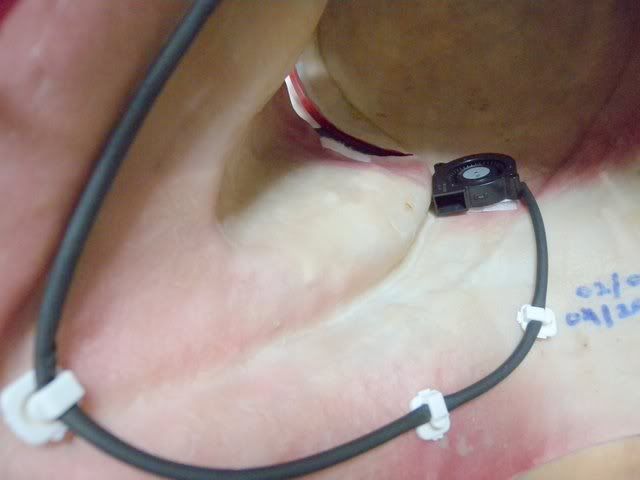
Sleeved wires with cable holders. I'm thinking of changing to wider cable holders.
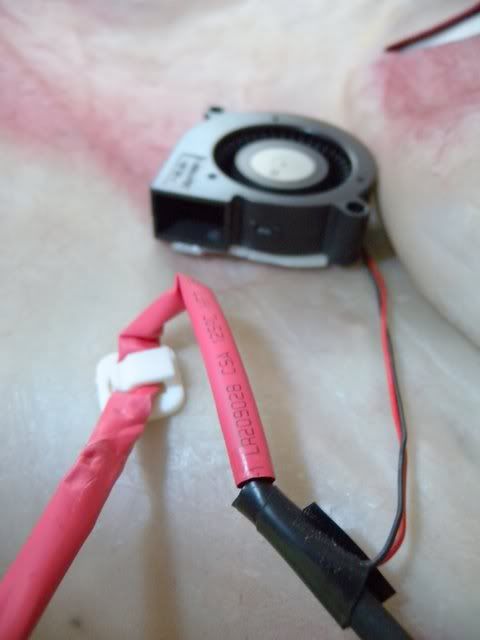
This shows the LHS fan, also pointing down. It also shows where the LHS fan meets the "main wire". The "main wire" was bared (use penknife to carefully cut away some insulation along a certain section, thread the other wire in. Repeat several cm away for the other one).
No sleeving for the LHS descending wires, because I lack skillz.
Also, the descending sleeve is red
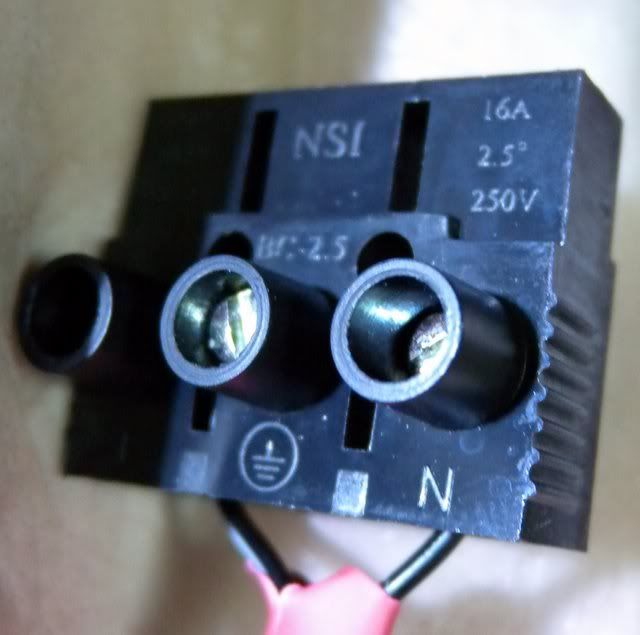
Helmet end of the connector, with visible ratings.
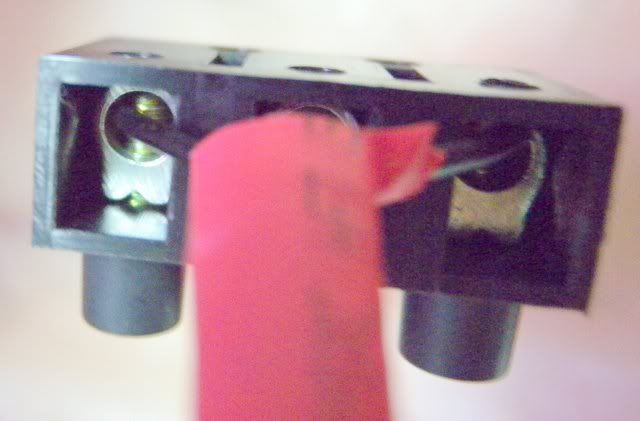
Back of connector, showing screwings.
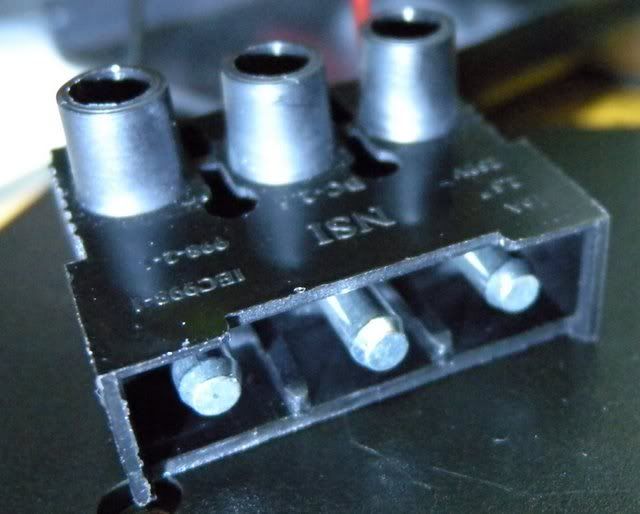
The battery end of the connector.
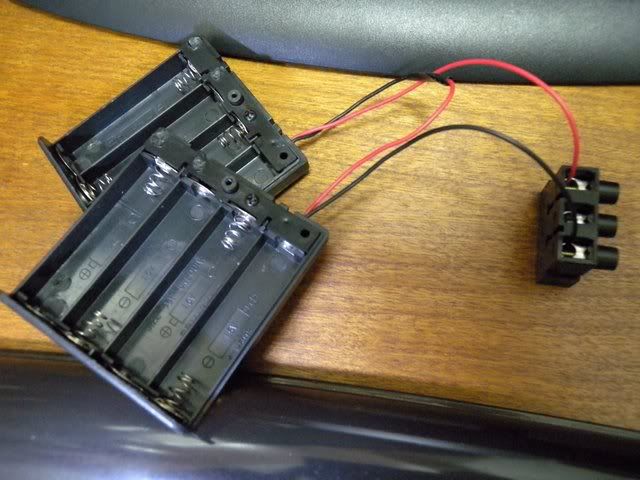
Battery packs connected in series.
Have fun!
