Just want to share my story for the whole journey to join the Dark Side of the Force.
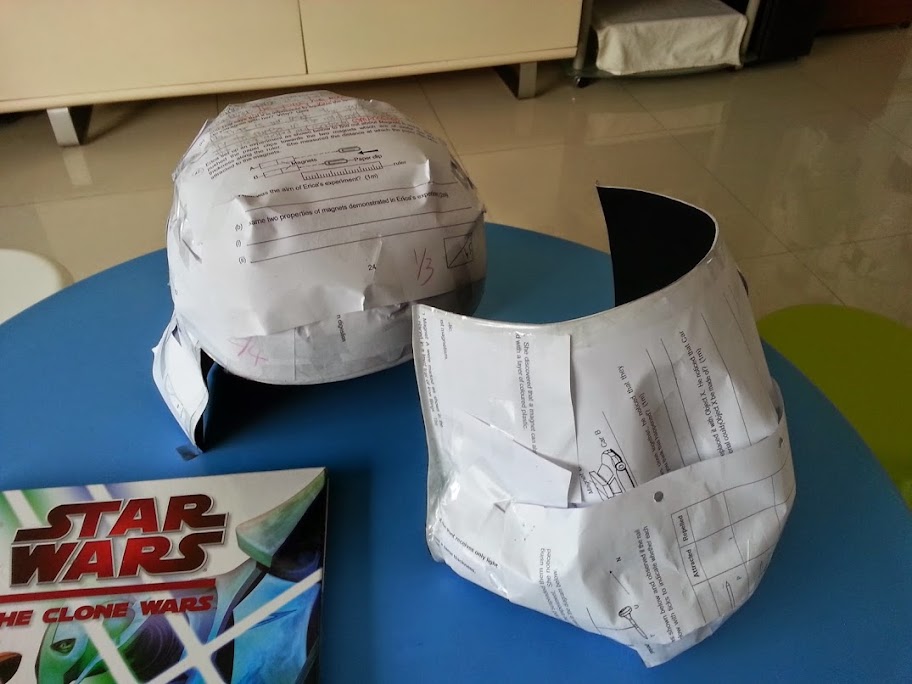
My first Storm Trooper armor was actually a paper version. It took me 1-year to build it.

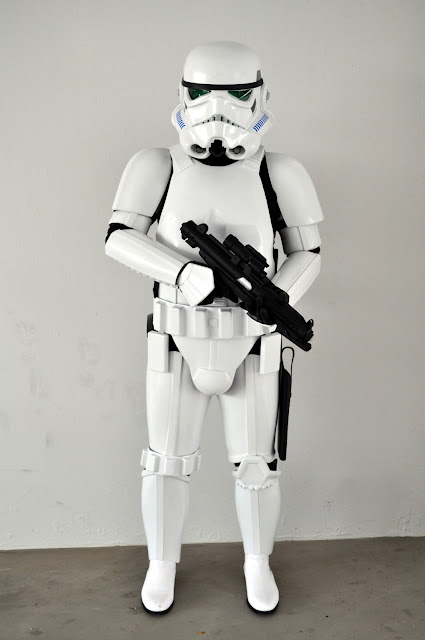
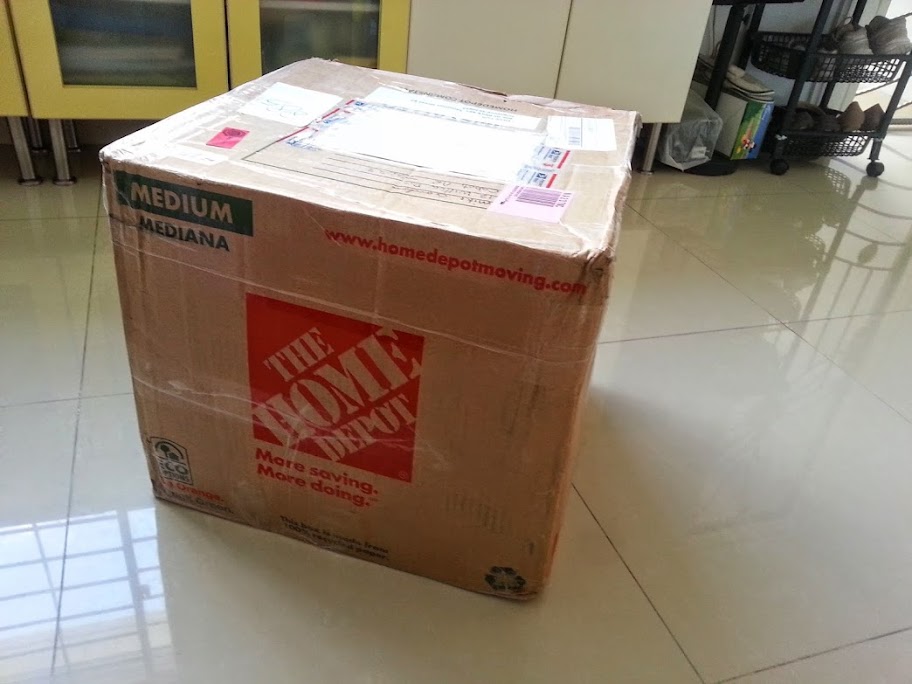
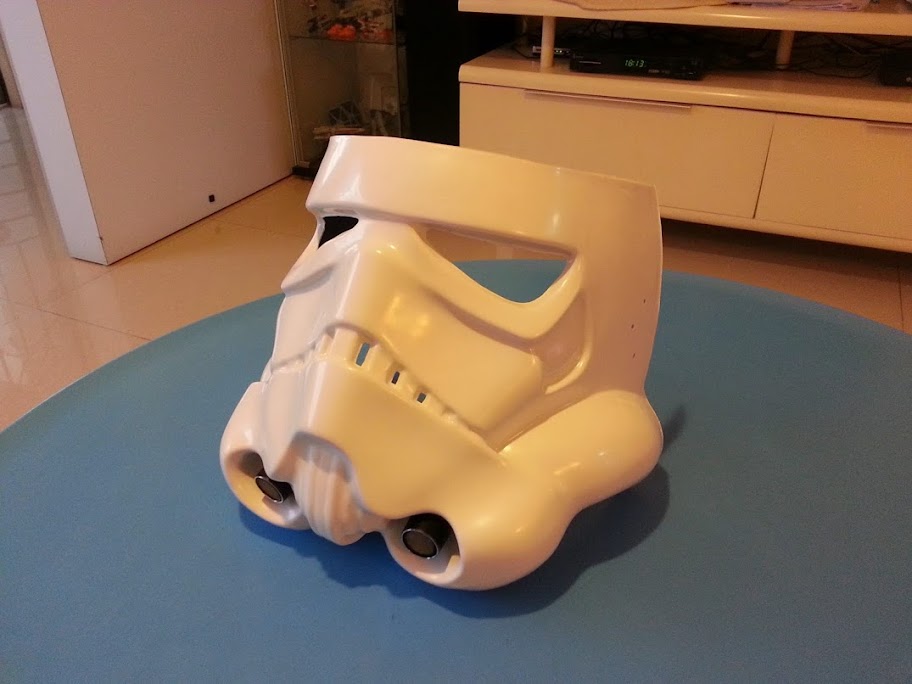
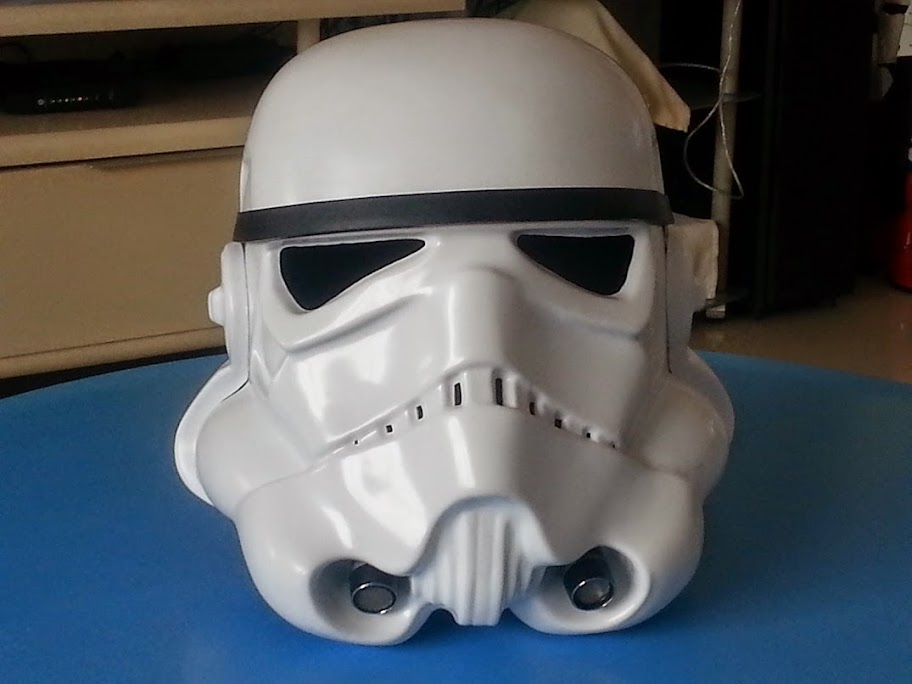
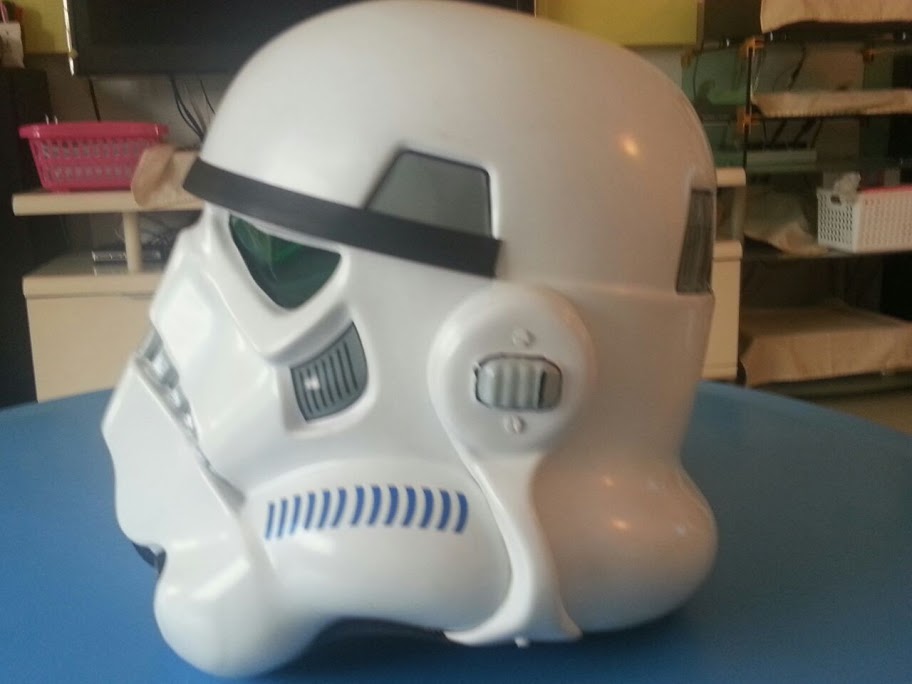
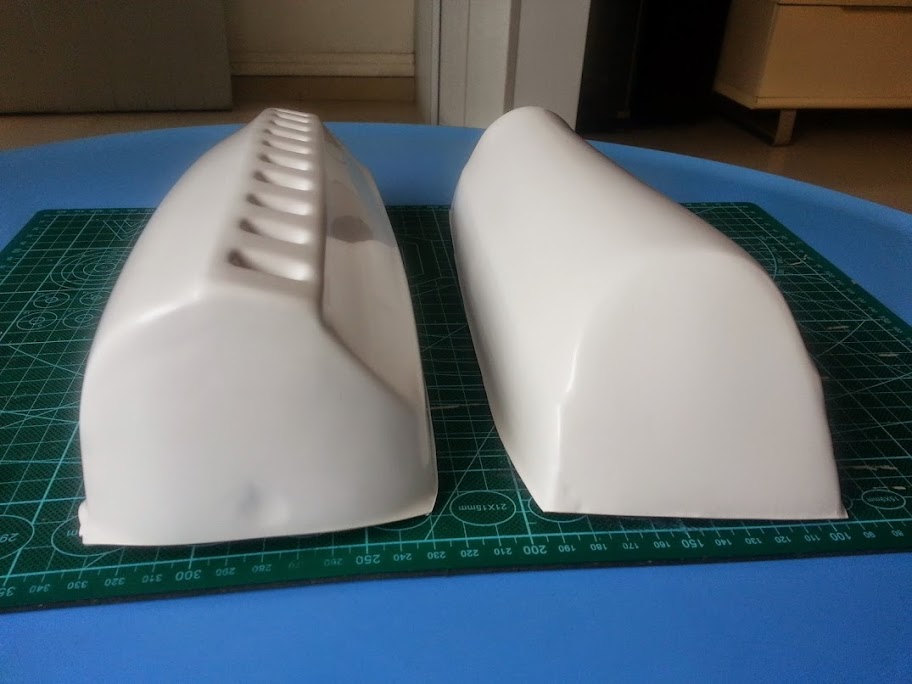
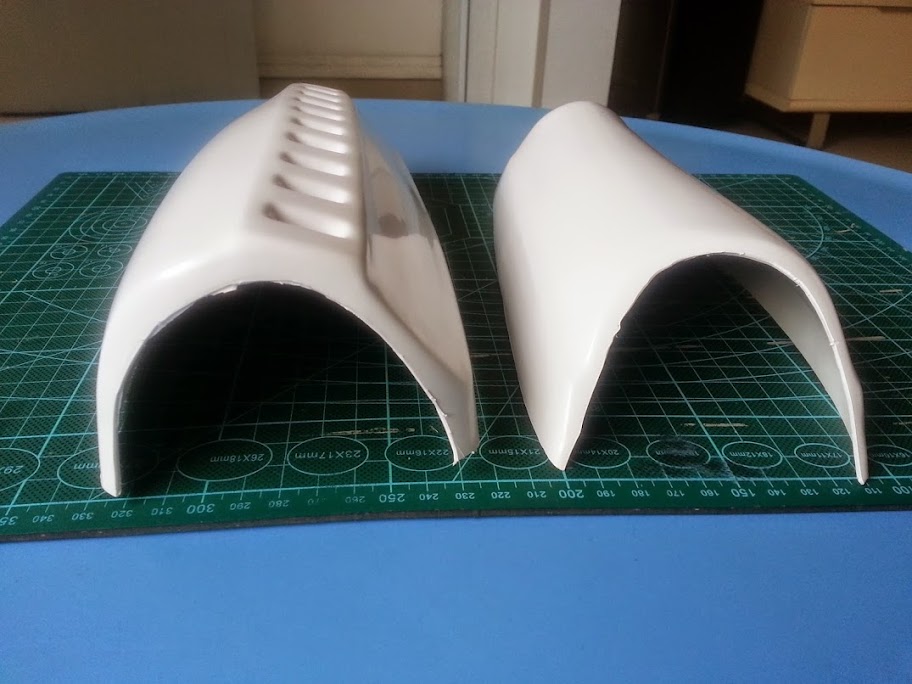
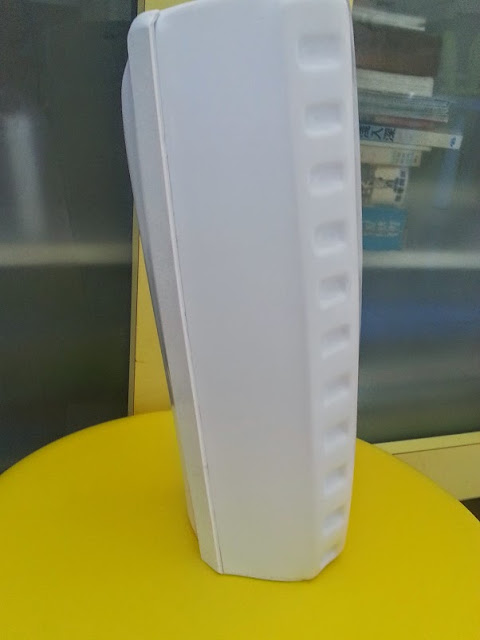
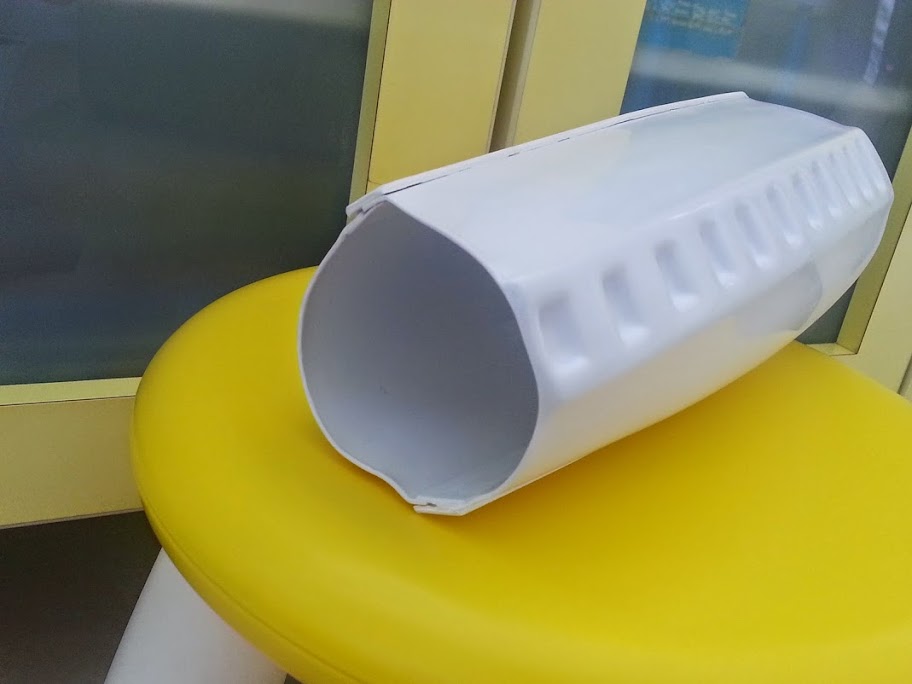
After then, I decided to build screen accurate one. My armor assembly kit was bought from Authentic Pops in 2014 May. I did spend around 6 months to look for info through the internet and some Starwars forum for advice. The kit took one month to send to SG from US. There was no need to wait as AP had stocks.
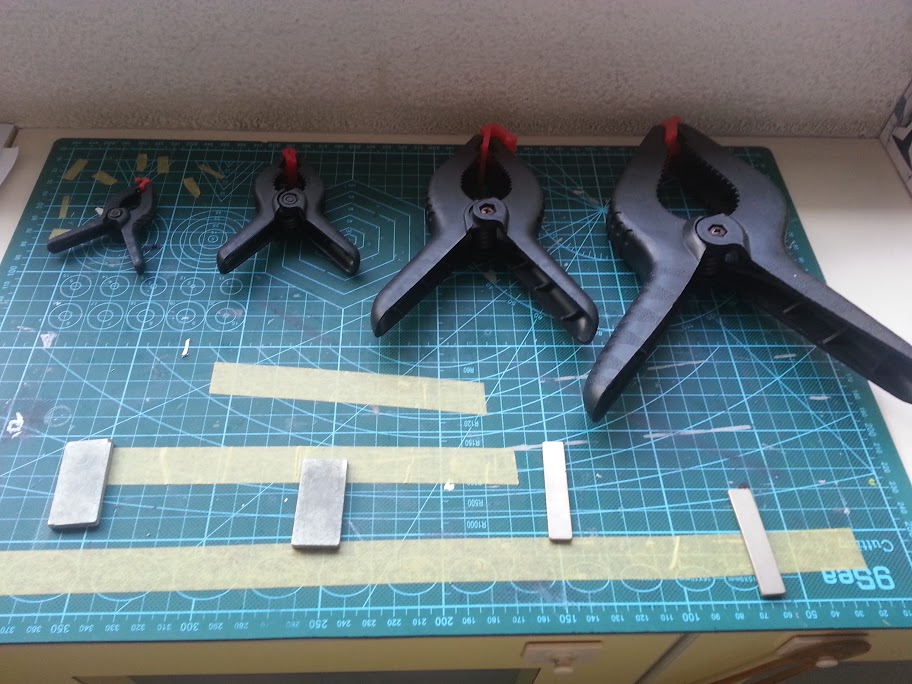
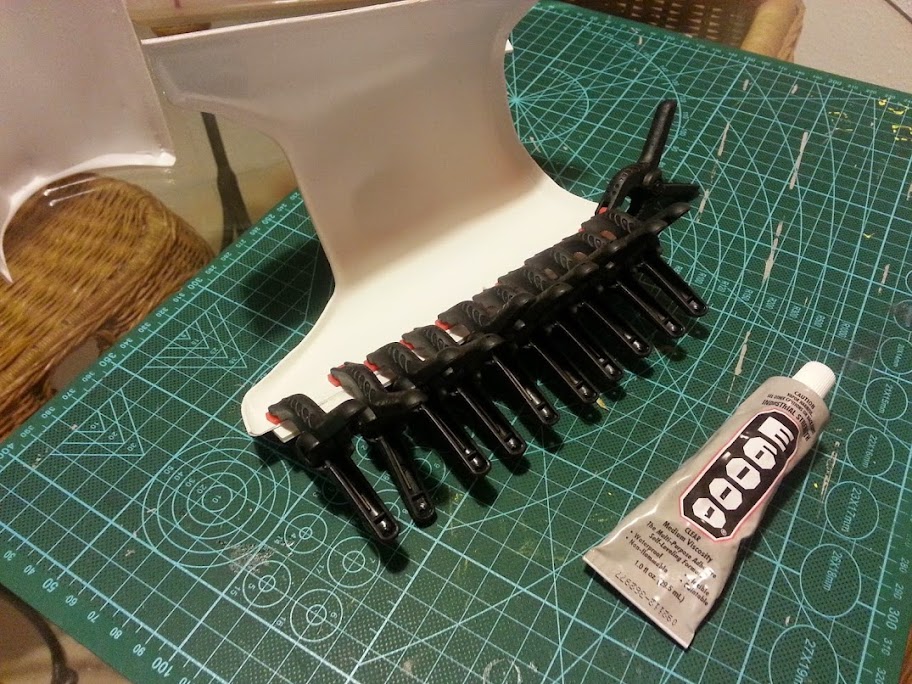
The cost of building consisted of two parts. One was the parts purchase and one was the tools purchase. The former one was around USD 1,300. The latter one was unknown as I didn't keep records. I have to warn you it was not small sum.
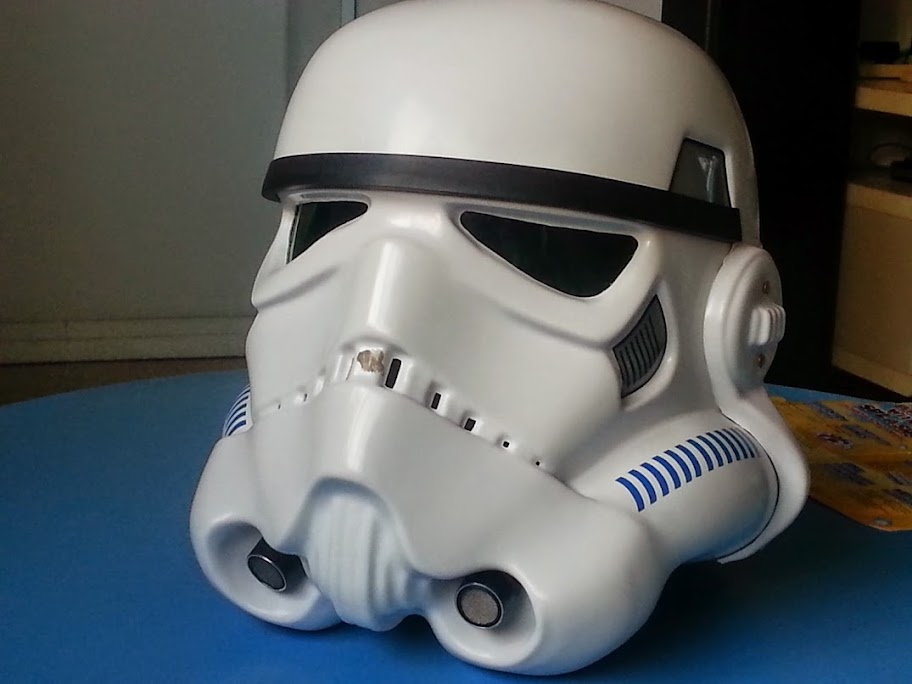
I completed my armor building around April 2015, almost 11 months. I got my TK # on mid-August.
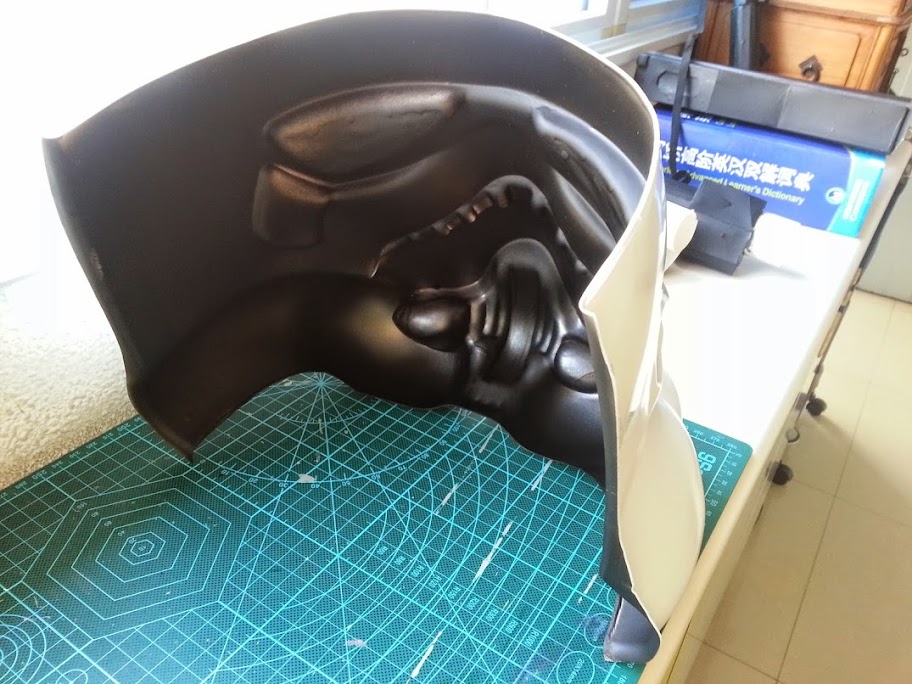
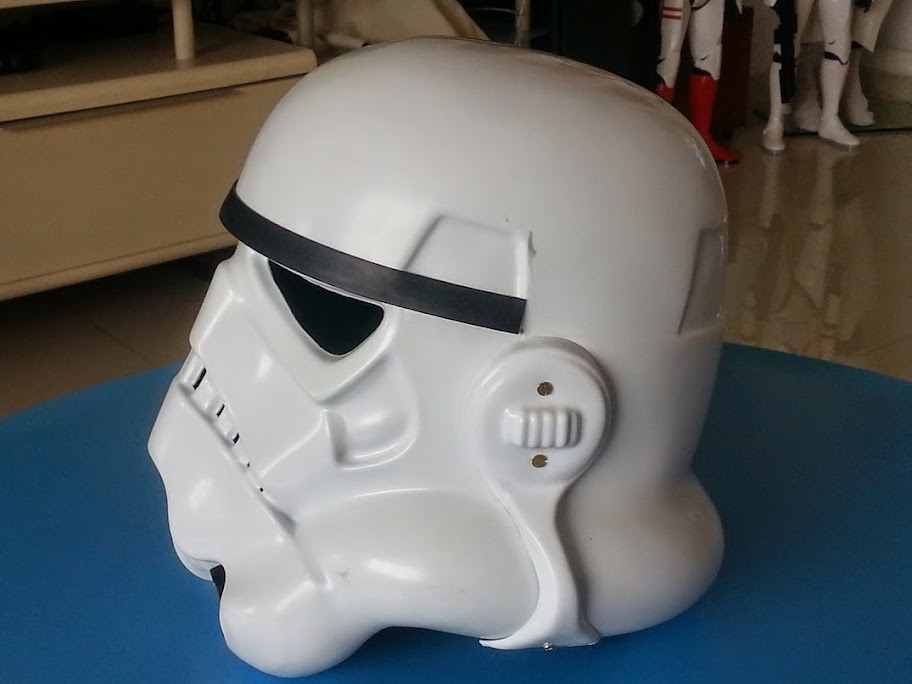
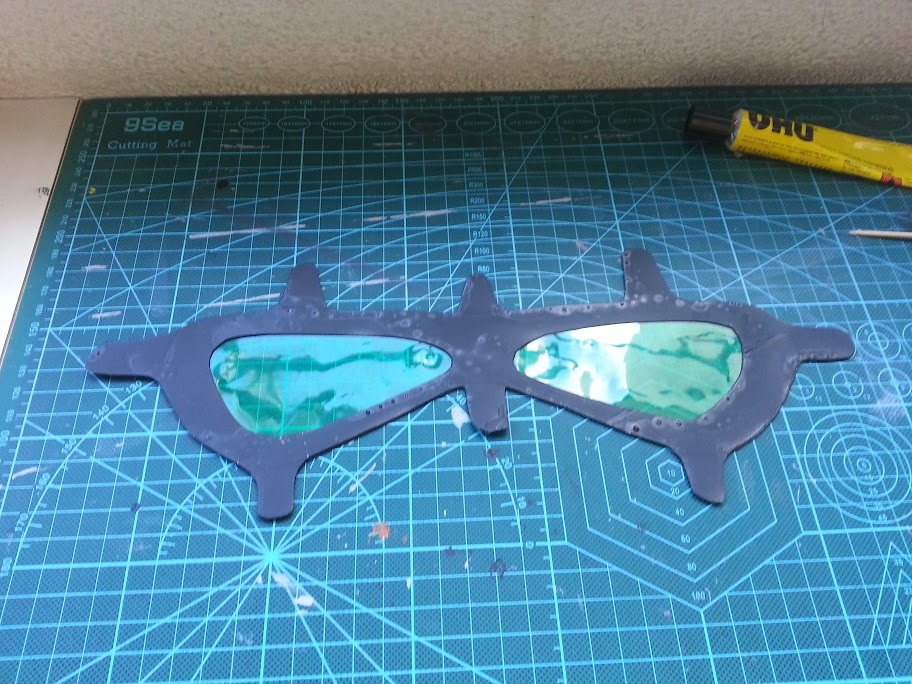
The coming posts will show the building history.