Hi all,
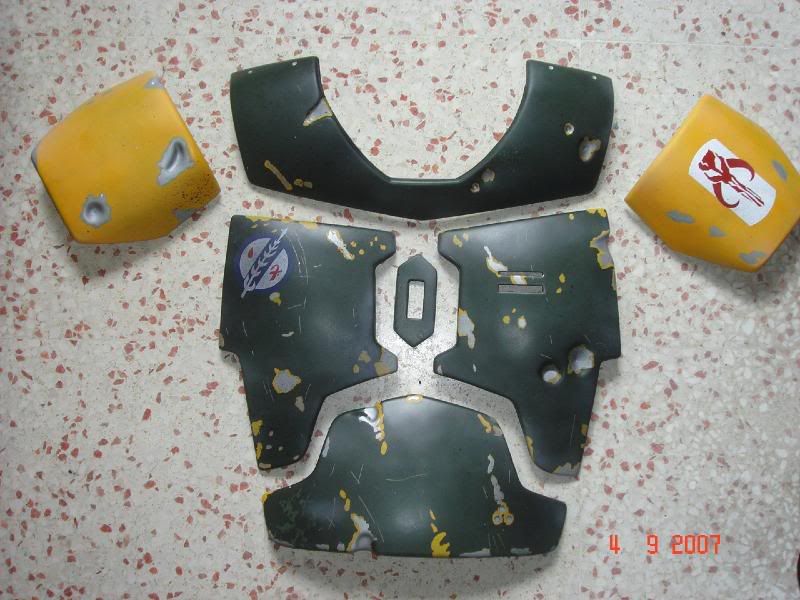
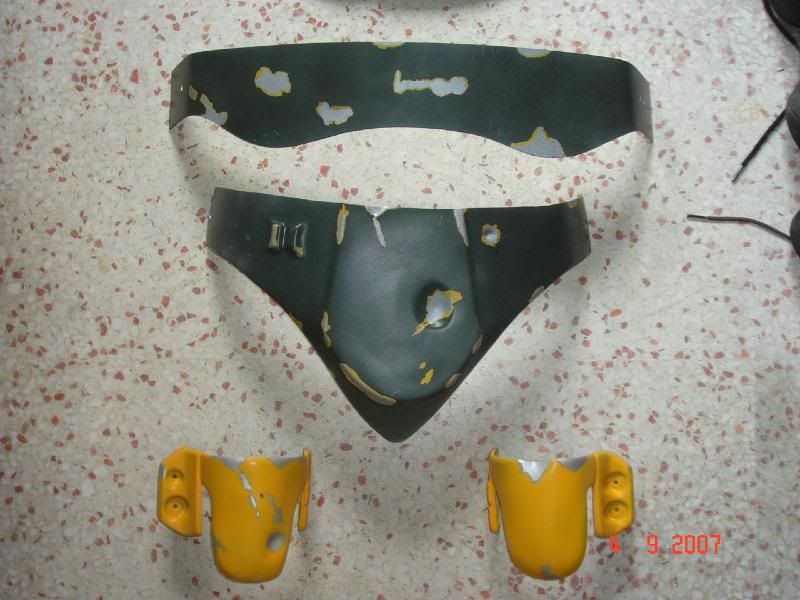
I just wanted to post a few pics up on the work I did with my JP to make it wearable...
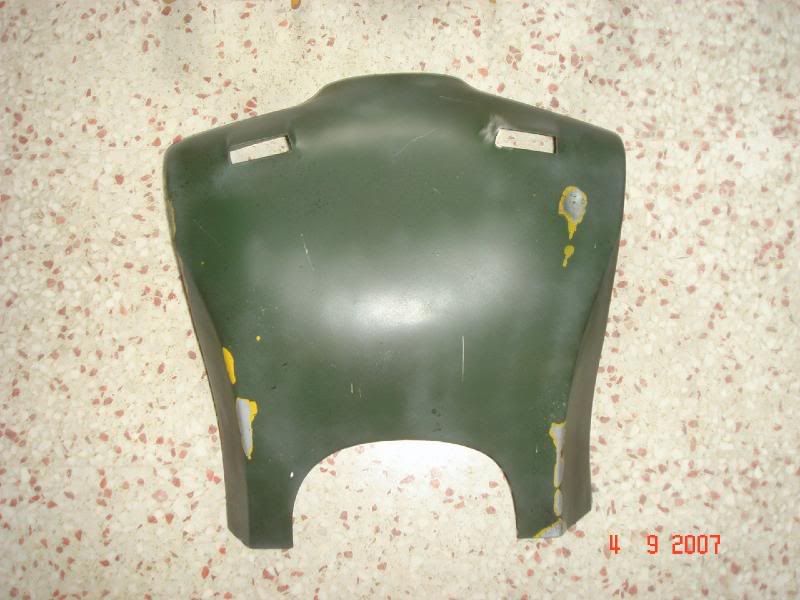
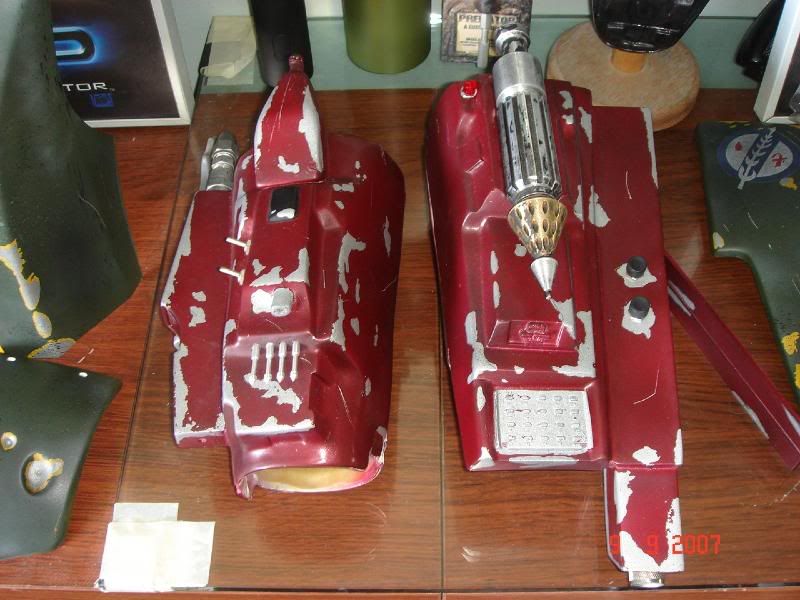
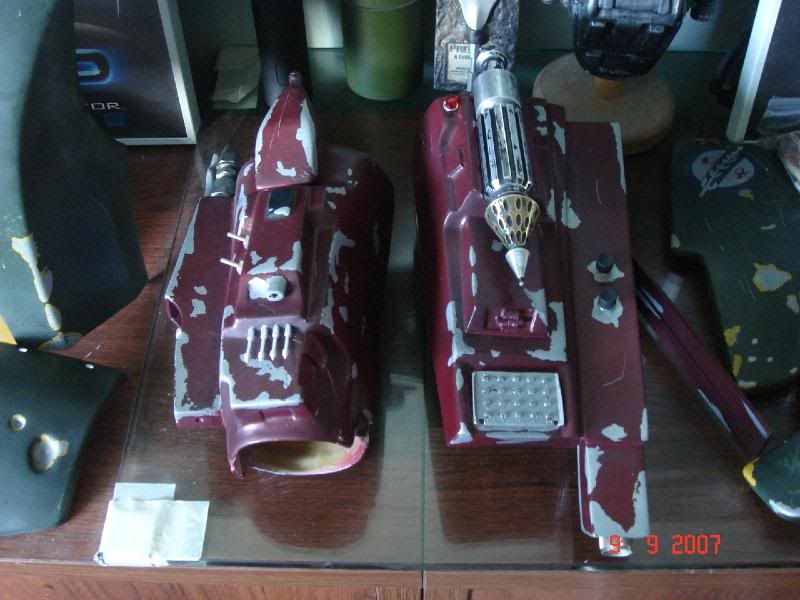
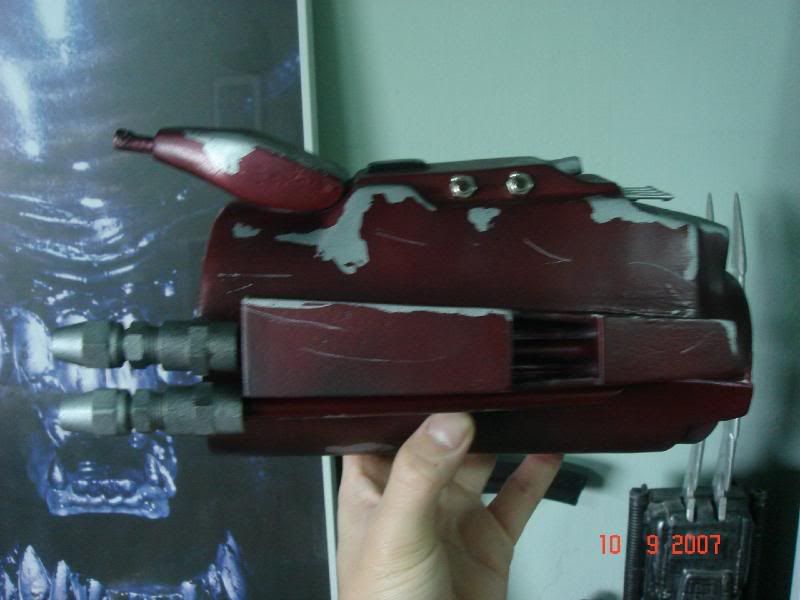
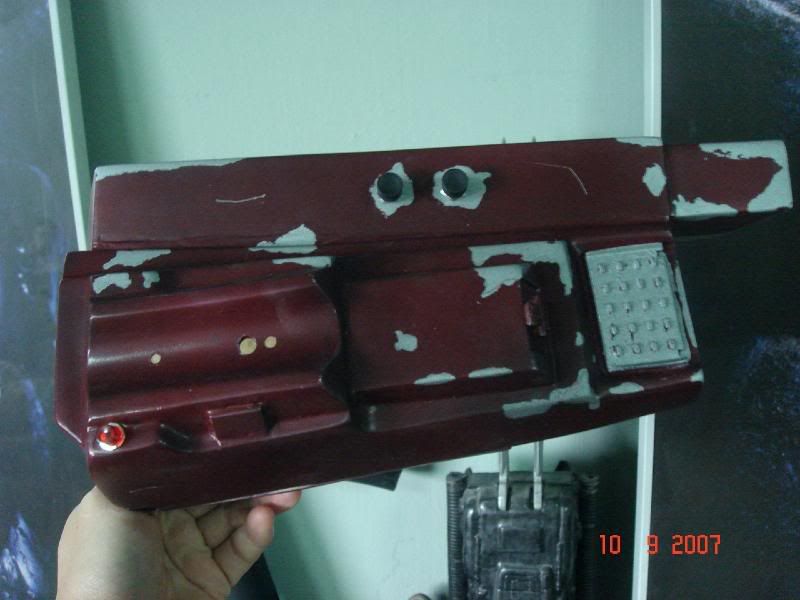
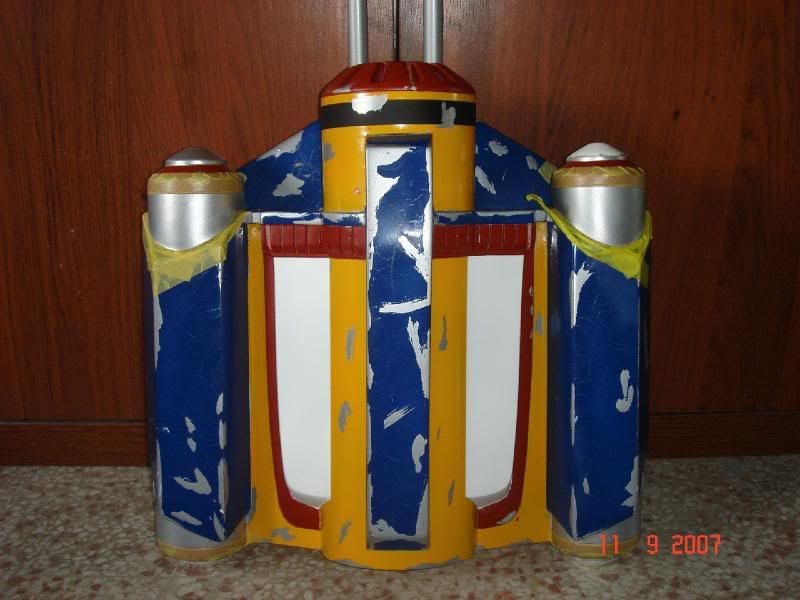
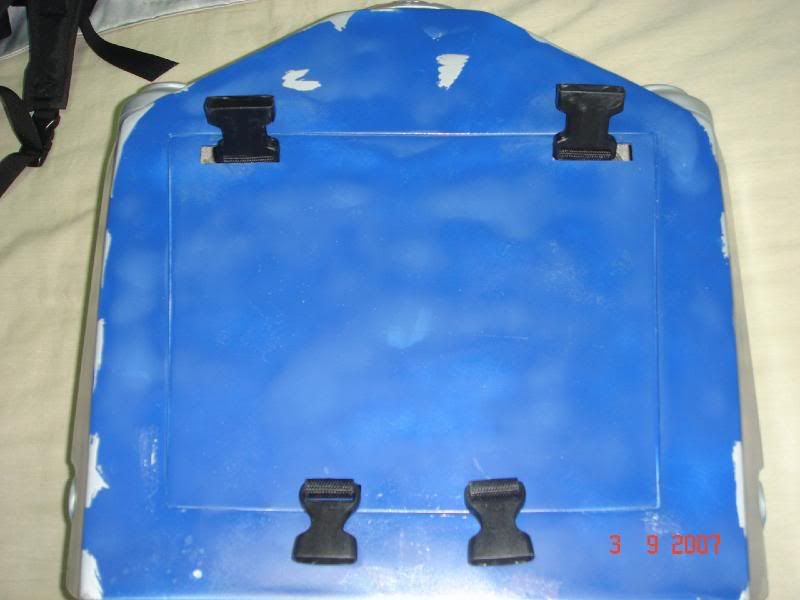
For the JP/Harness setup, besides the normal shoulder attachments, I wanted another pair for the bottom of my JP so I wouldn't have to worry about it swinging loosely from any sudden movements. And while the MLC2 is a lightweight pack, I wanted the feel of a more rounded secure hold on both the top and bottom of my JP.
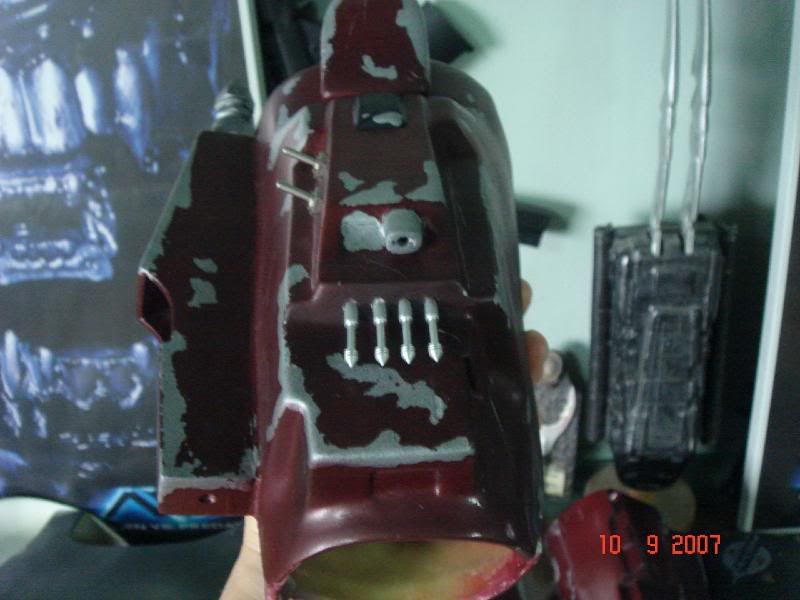
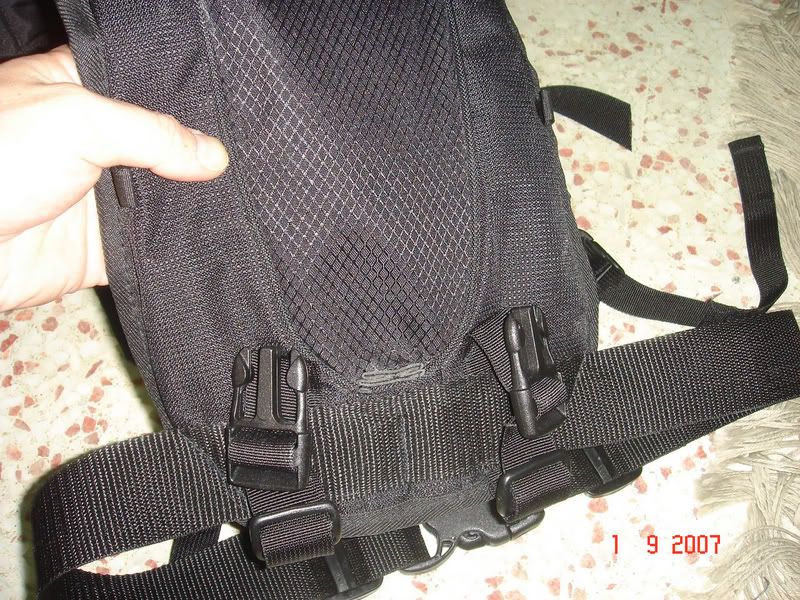
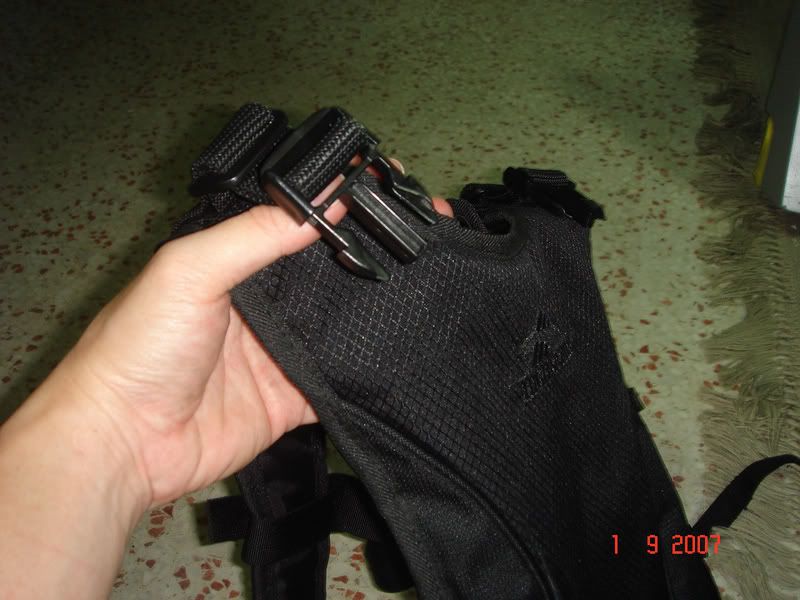
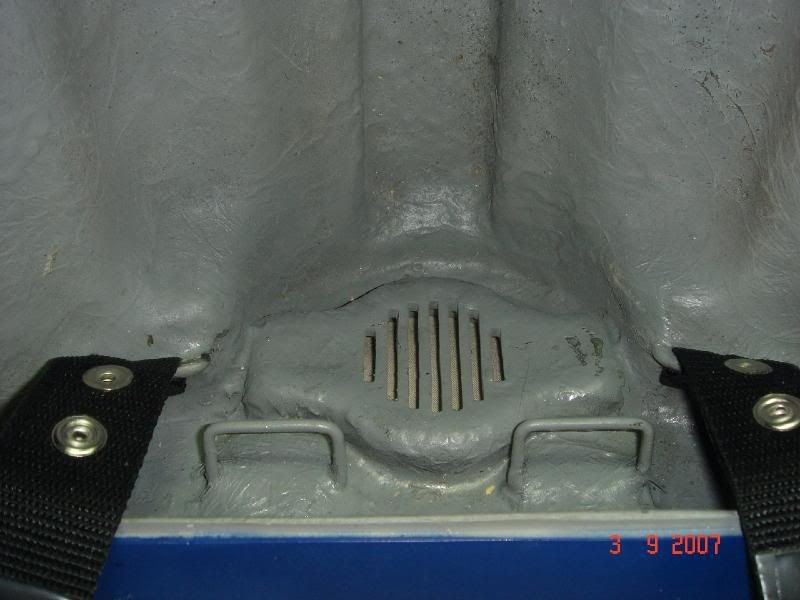
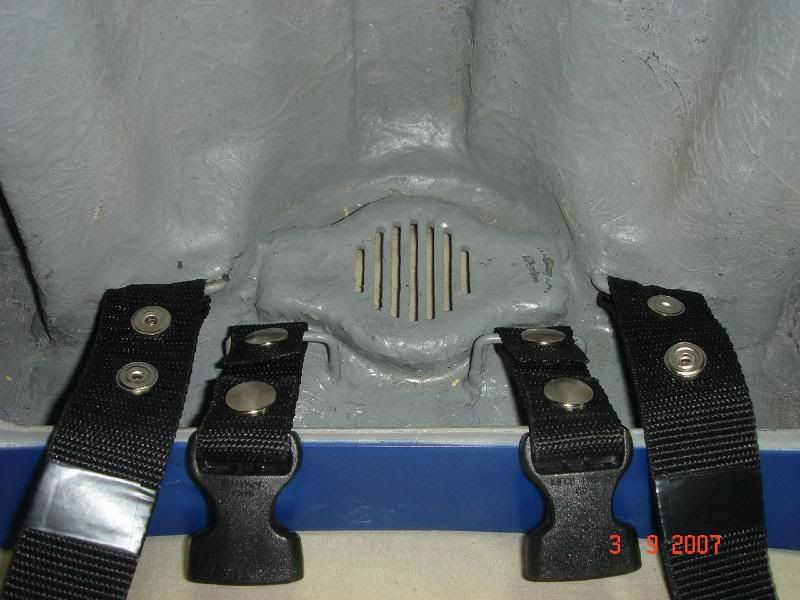
With that thought in mind, I went out and picked up 2 cheap metal buckles [$1.35ea], removed the pins and had em installed into the JP for my lower back securement. And since I had access to resin and fiberglass, used that to hold the buckles in place.
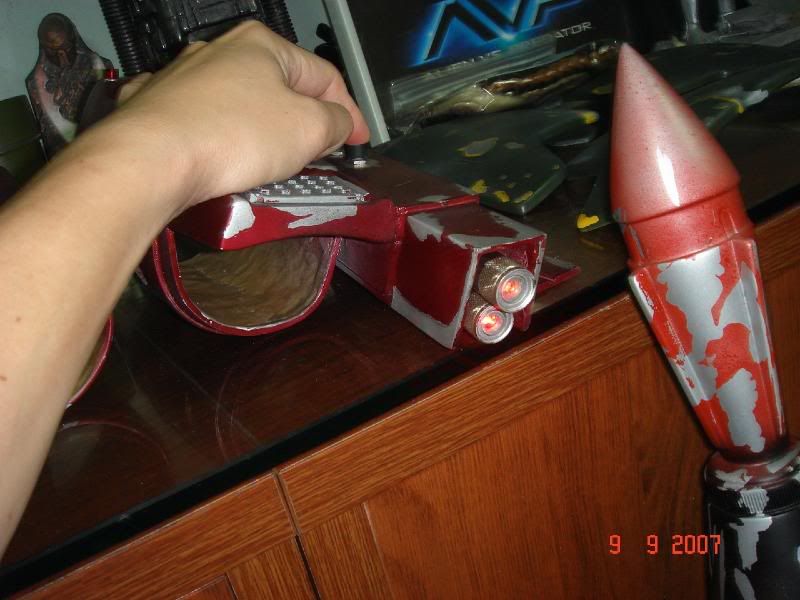
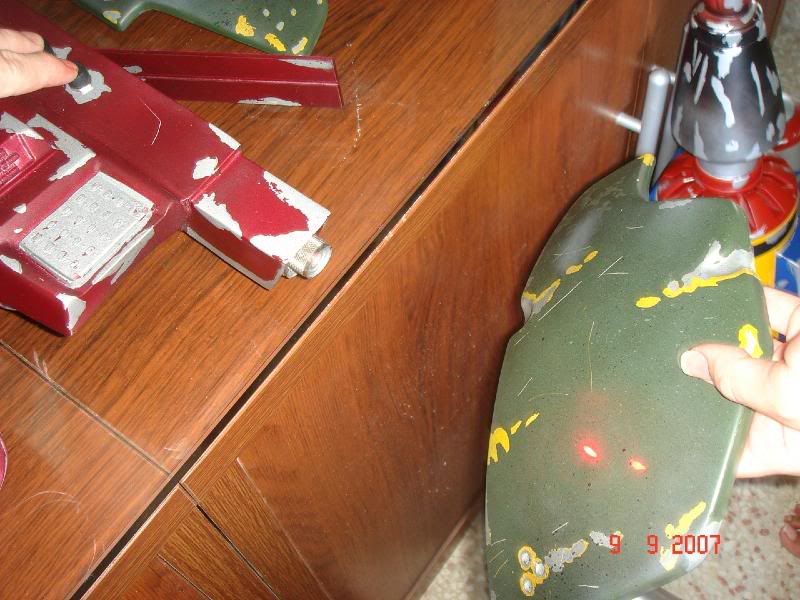
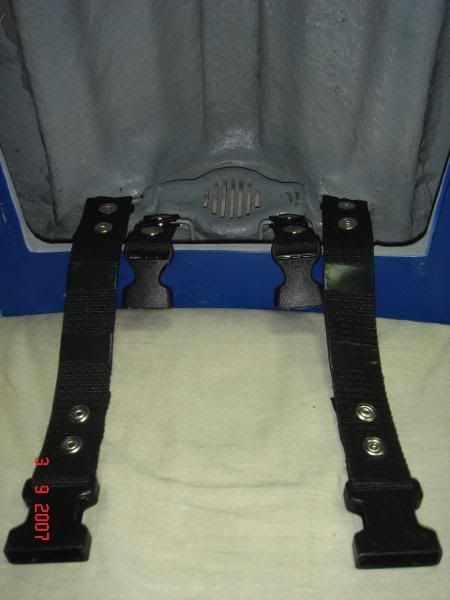
I then purchased some nylon, milgrade standard [used for most Military apps] as I wanted both strength and durability as well as used a few of my spare BHI [Blackhawk Industries]; 2 x 1.5 inches & 2 x 1 inch buckles that I had lyin around and used snaps to affix it on.
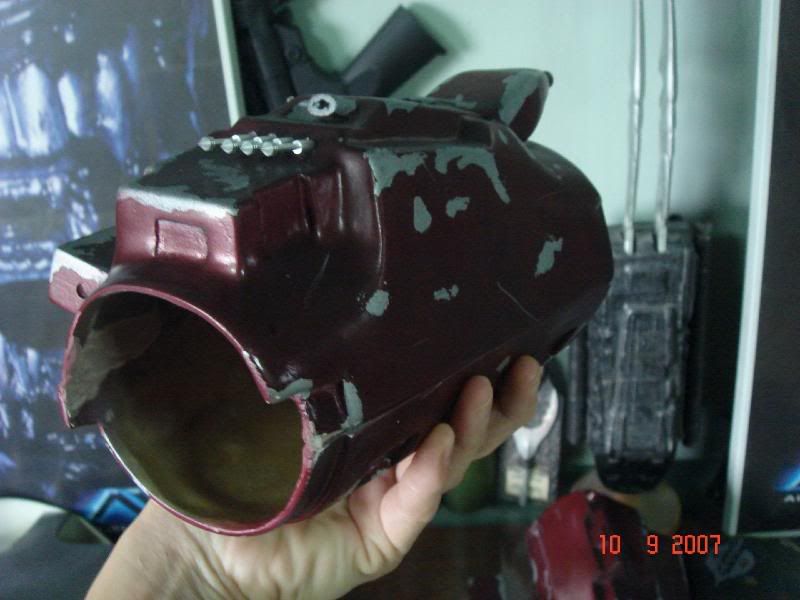
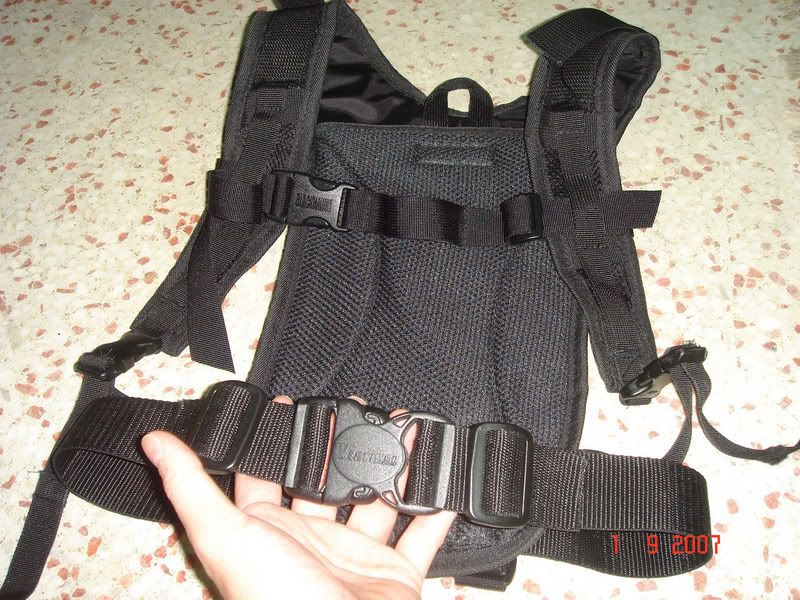
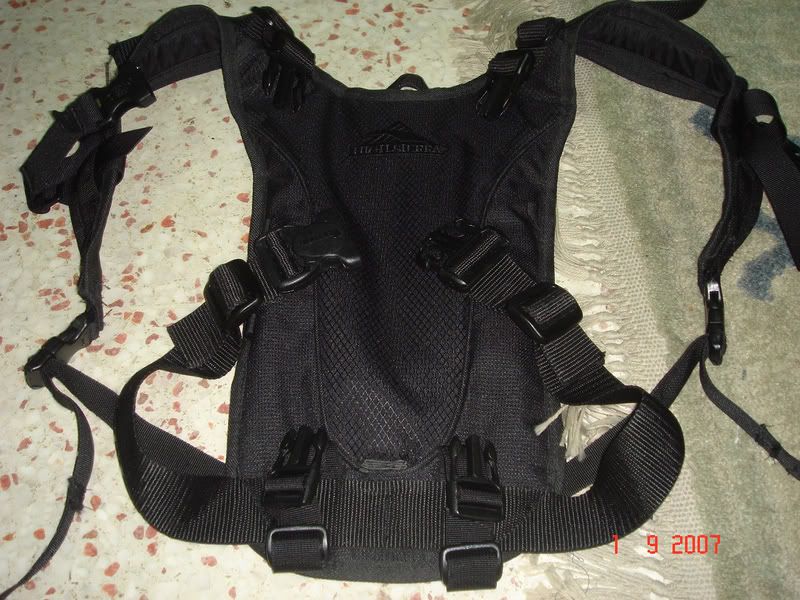
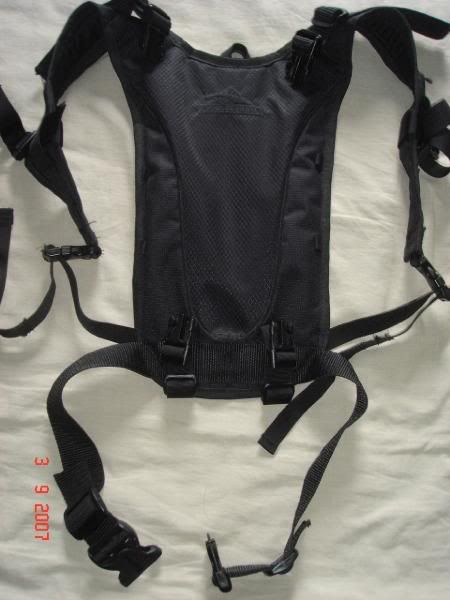
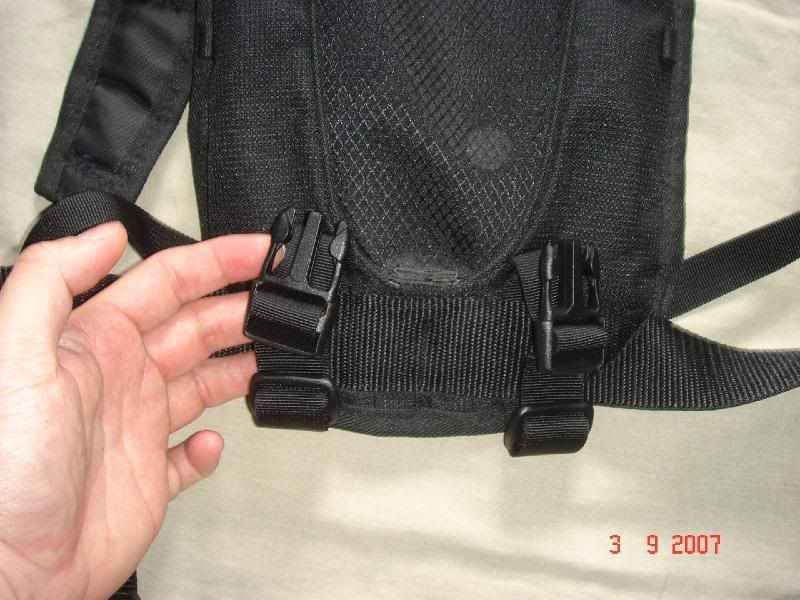
End result from the back...
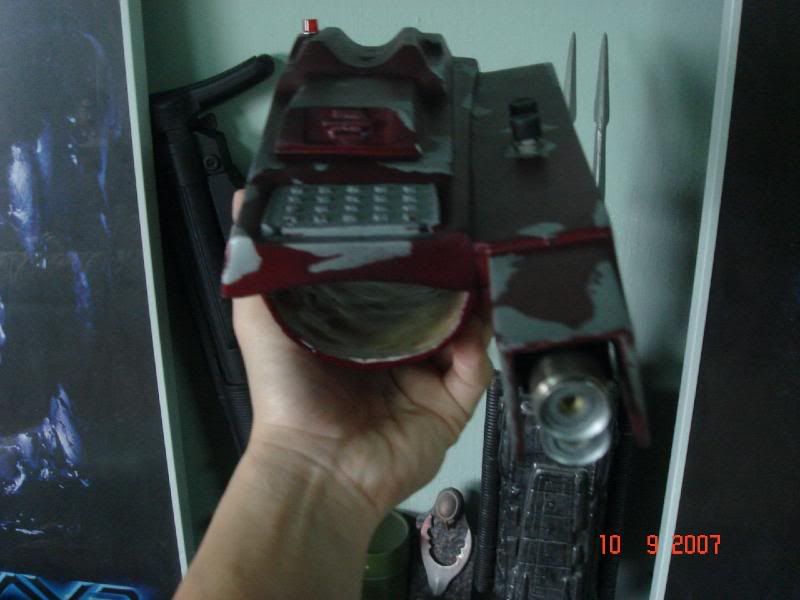
My base JP harness is a basic affordable padded High Sierra 'camelbak' [$14.00] that I found at a Sporting Goods Store near my office. It came without a bladder hence the price.

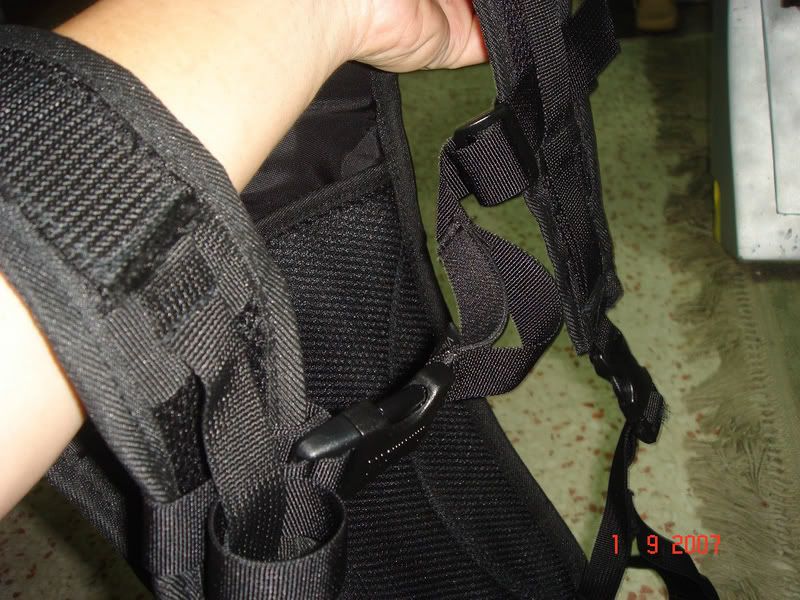
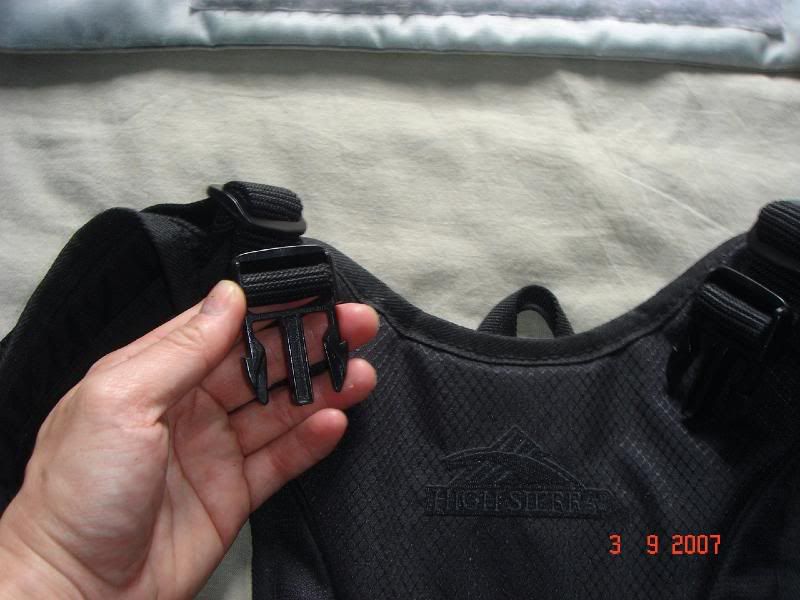
I then had the 1.5 inch nylon stiched onto the 'camelbak' shoulder straps, leaving enough leeway, for me to slip on the male connector of the buckle and a tri-glide to hold the excess.
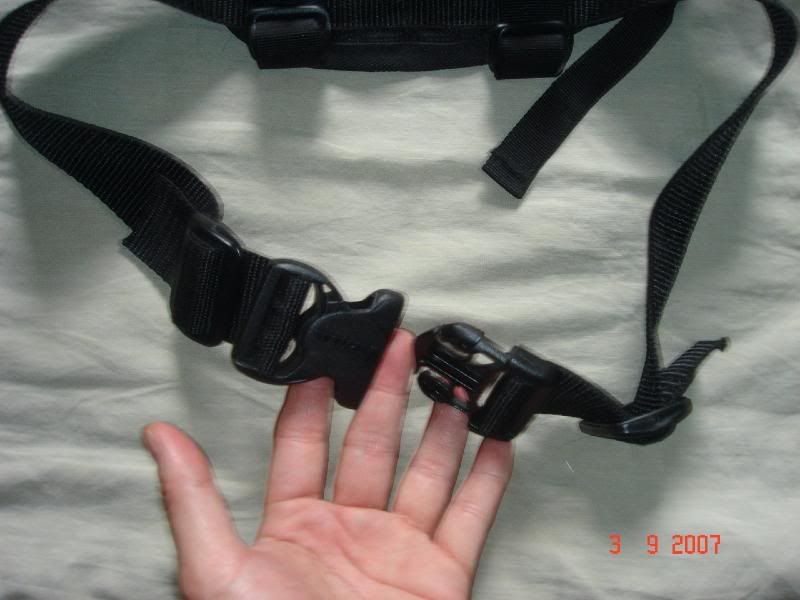
Measured off the length downwards and had the 1 inch nylon stitched on near the bottom end of the 'camelbak'. And then on top of which, I had the waist belt 2 inch nylon stitched across as well. Am currently using a milgrade 2 inch buckle till I locate a US Divers buckle to replace it. :;)
All nylon attachments have tri-glides to hold and secure the excess nylon and are double stitched [ahh, the virtues of being a hard core high speed geardo :lol].
Last but not least, I also sourced from my excess gear and found a small 1 inch chest strap buckle setup for securement across my chest tween the shoulder straps.
Tried everything on [harness, vest and backplate] and the pack sits comfortably fine, doesn't slide down and doesn't swing out. Troopingwise I'll find out in Oct when I hit Taipei for the Con there.
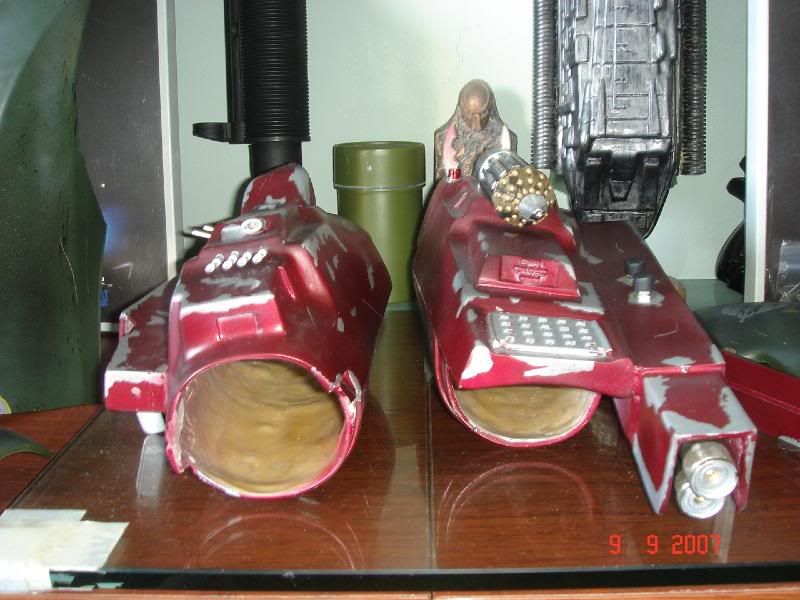
The pics..
More pics to come...watch this space! Hope this thread was informative guys. :cheers
PWIP pics to follow in abit. :cheers
Stay safe,
Tim.
P.S. Harry, Jacen please contact me once you read this thread, especially Jacen..I know how the Jango JP sits moviewise, and I know the setup you can use for yourself. Harry, you can use the same setup as me. Stay frosty Hunters.