@mosske
ok. thanks for the advice. also it would be great if i could know which saturdays you are free and ill inform u in advance to finish my armour up as i dont want to take away to omany of ur weekend days!!! thanks n sorry for the trouble!
@everyone
*UPDATE*
got 2 white pvc pieces from art friend today as I was done with the objectives for the day wtih my teacher so i was dismissed early!

my phone couldnt transfer the pics thru cable for some funny reason so i emailed my fotos over to my own email!
here are the pics and explainations of what was actually done and other details.
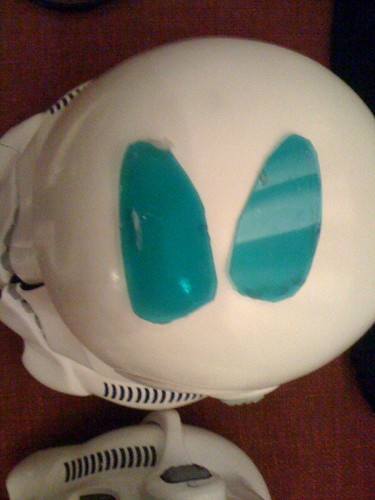
 gfg
gfg by
stanthemanlow, on Flickr
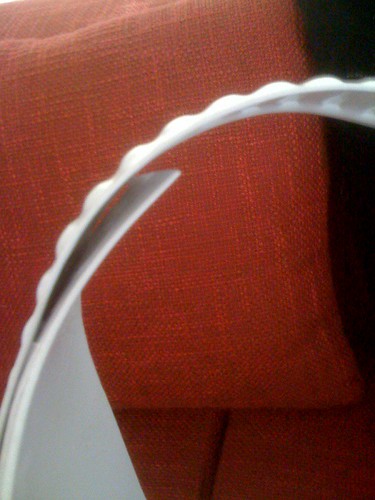
this is the shin armour with the knee guard riveted to the shin piece. befroe the riveting, the shin piece(s) were glued together at the front. I put tape on the inner side coz i was kiasu!

following the gluing using outdoor goop, the whtie industrial strength velcro was then added at the back. then for the left shin piece, the knee guard was riveted to it, and painted whtie using white permanent paint marker.
when the glue was applied, the front was taped in place to prevent any movement of the piece when the glue tries to dry.
 lpol
lpol by
stanthemanlow, on Flickr
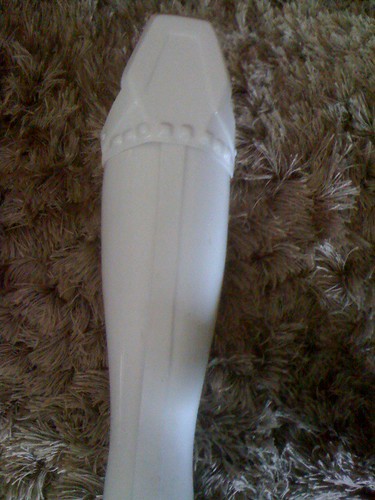
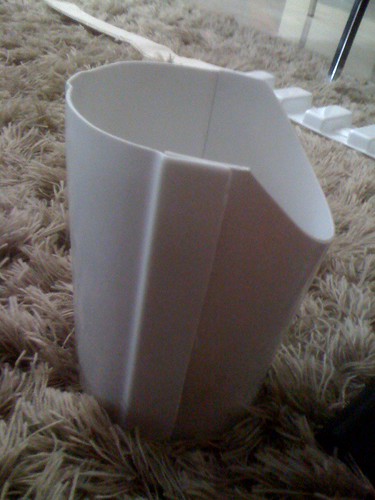
next is the thigh armour. same thing was done as the shin armour. The front was glued together first using outdoor goop. following that, the back was velcroed using the white industrial strength velcro. also put tape on the inside coz kiasu! right now, ill be waiting for the next time keith and i would be free for help on riveting the ammo piece on the right thigh piece! the elastics and support system to hold the thigh pieces up also have yet to be done.
just like the shins or any gluing, when the glue was applied, the front was taped in place to prevent any movement of the piece when the glue tries to dry.
 098
098 by
stanthemanlow, on Flickr
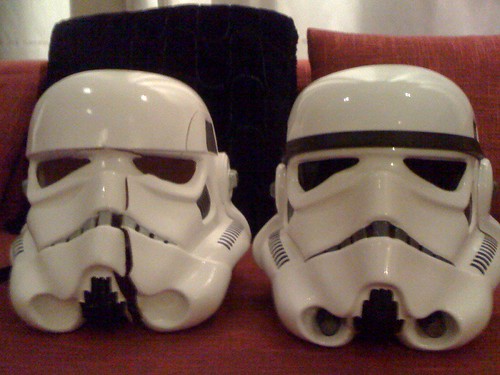
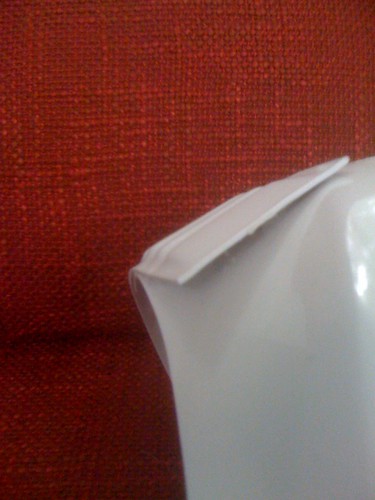
this is the chest plate and shoulder strap pieces. the shoulder straps were glued with outdoor goop onto the chest piece as shown in the pic. 4 of the bumps should be on the chest piece (overlapping)(glued). , when the glue was applied, the straps were taped in place to prevent any movement of the piece when the glue tries to dry.
looks abit out of proportion though when i took out the tape..mustve been my movement? might have to readjust it...not sure!
 jujuj
jujuj by
stanthemanlow, on Flickr
 ppp
ppp by
stanthemanlow, on Flickr
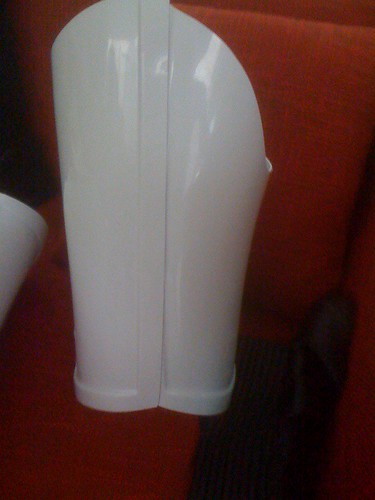
here i encountered this problem of the shoulder strap flaring and sticking up. however as can be seen from the previous post, keith said that its normal for fx armour and that heat bending will make it look worse and out of proportion so i may not have to make changes.
 fgh
fgh by
stanthemanlow, on Flickr
next is the bicep pieces. both sides were glued shut (my preferences) however you can just put tape on the inside without gluing one side and lgue the other side is fine. however me being kiasu, i glued and taped!

just like the thighs and shins,,or any gluing, when the glue was applied, the biceps were taped in place to prevent any movement of the piece when the glue tries to dry.
 photo
photo by
stanthemanlow, on Flickr
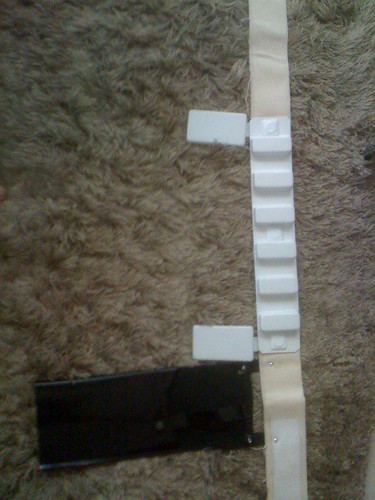
last but not least is the belt! keith helped with allot of riveting and supplied the belt part as the belt that came with my supplier was a crappy one..so thanks keith again! have yet to pay for the canvas and holster!! the belt and holster were measured and riveted to the canvas. drop boxes were velcvroed to back of the belt piece before riveting to canvas. the rivets on the belt piece were covered up by gluing small pieces of white plastic.
didnt take any pics of my wrist pieces as they were drying when i took the fotos!! i hope this was informative for anyone interested in making a TK and hope the pics came in handy for a clearer view!hope it helps!