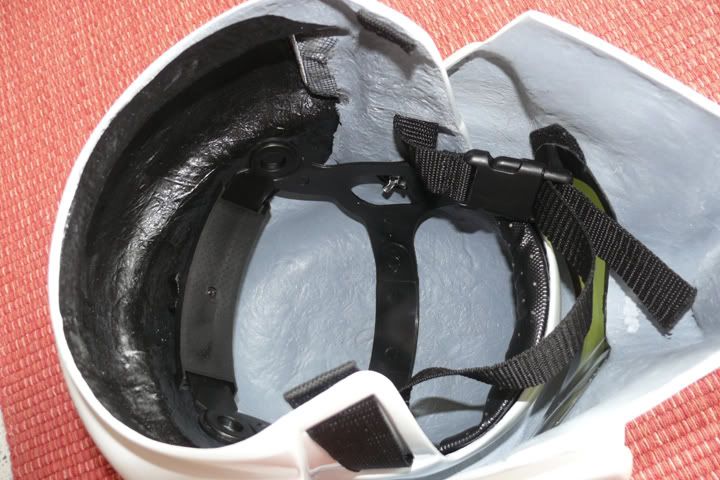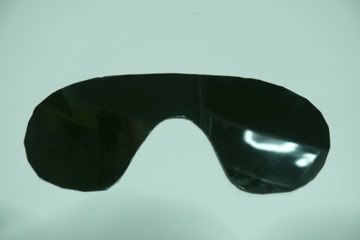
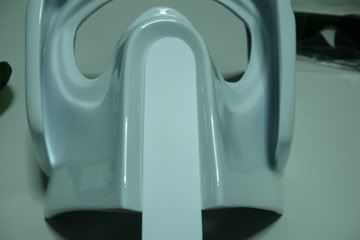
Using a hairdryer, you bend it to conform to your helmet curve.
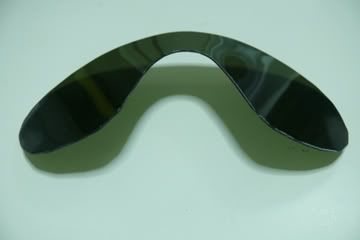
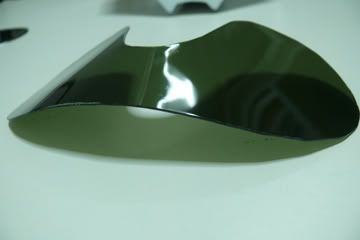
With a bit of finesse, you can get it to contour your helmet nicely and it'll sit perfectly without needing any force to hold it in place.
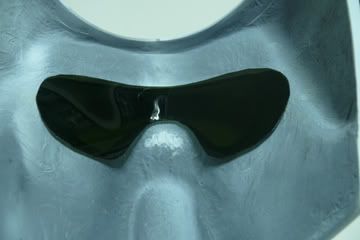
Flash test to make sure it's dark enough.
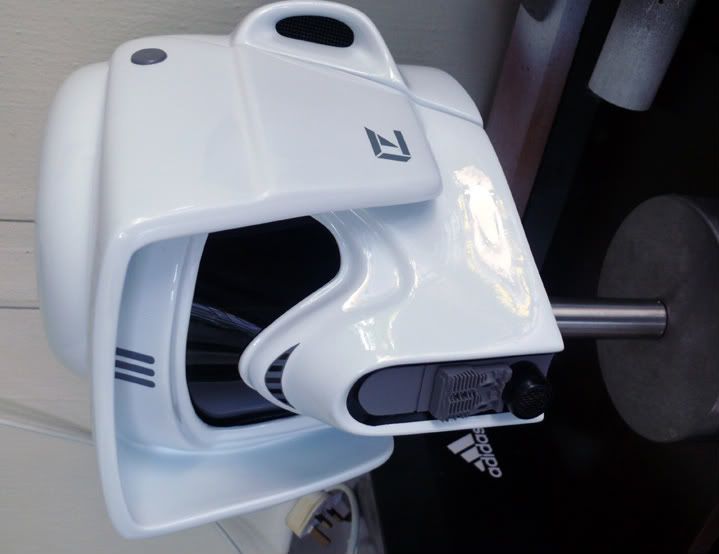
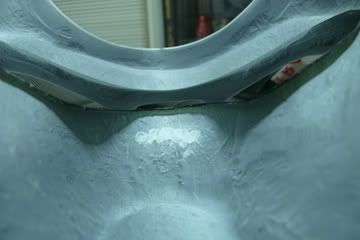
Onto the snout area. Get a piece of ABS and cut it to fit the inside space.

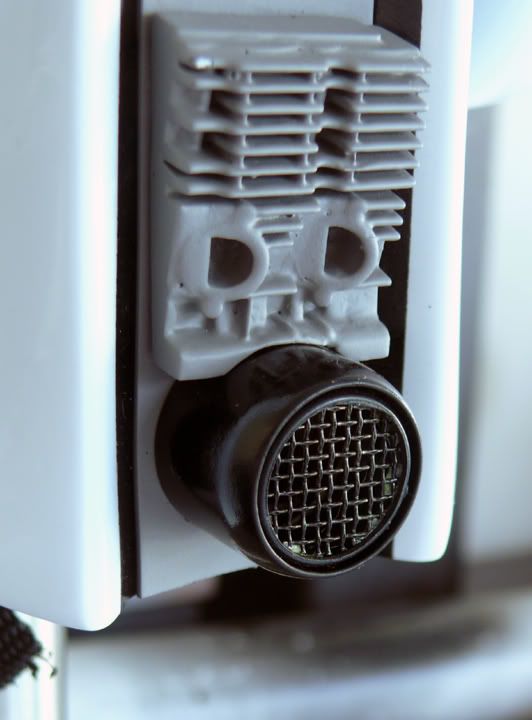
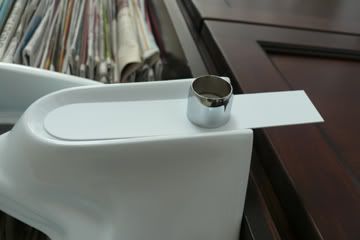
These are the components for the snout detail. I didn't like the resin aerator so I cut it off and used a metal version instead.
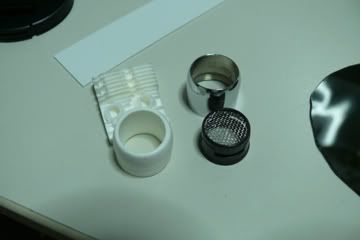
Minus the resin aerator for fitting after drmelling the curve to fit the metal piece.
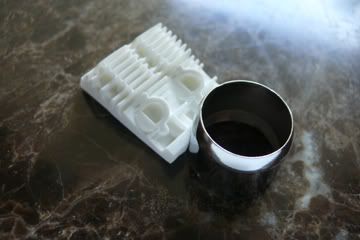
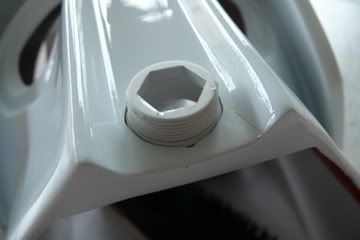
Next was figuring how to fix the aerator to the snout so after hunting through the plumbing parts, I found a part that would work.

Break out the drill and cut through the plastic and also through the helmet.
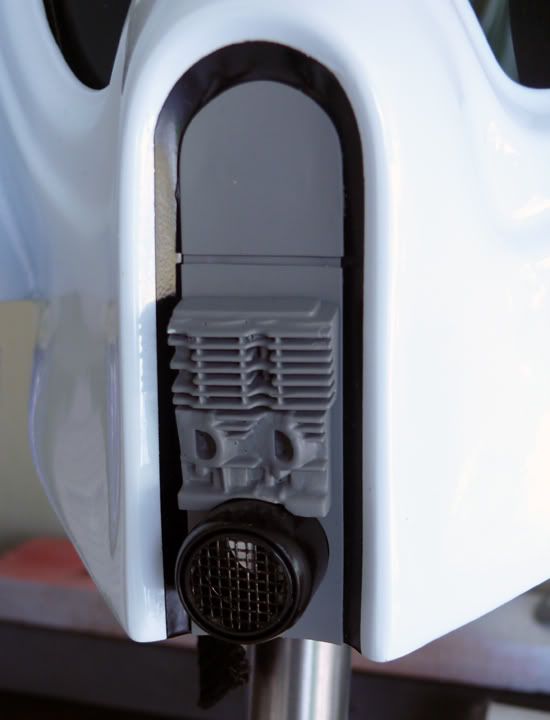
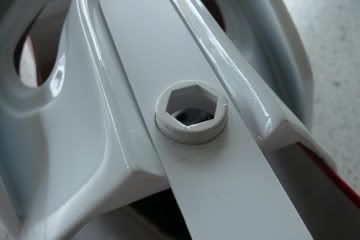
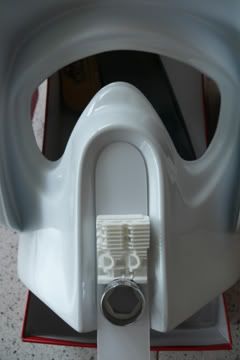
Dry fit of the components from the side.
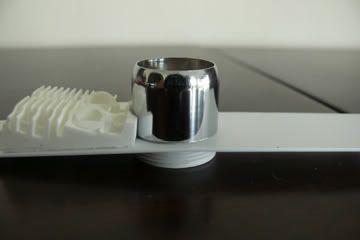
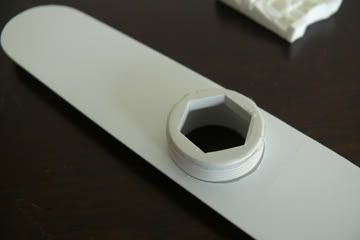
Plate goes on.
Rear view.
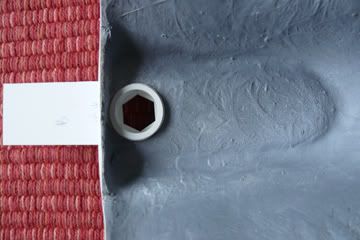
Screw on the aerator.
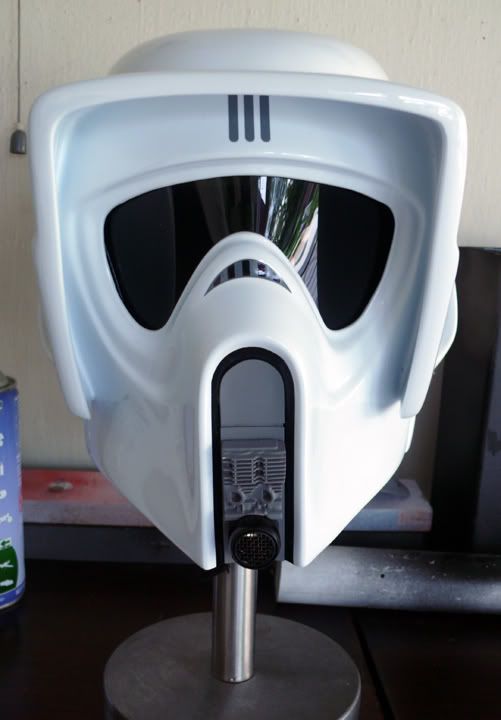
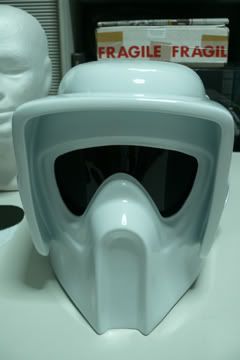
Fitting on the helmet. I left the plate long so that any adjustments, up or down, I would still have material to fudge with.
A bit too much detail for such a small part, but it is the front piece so I wanted it to be as accurate as possible. With a hole in the front, you can either add a fan or a micro speaker for voice amp. Painting will be next.