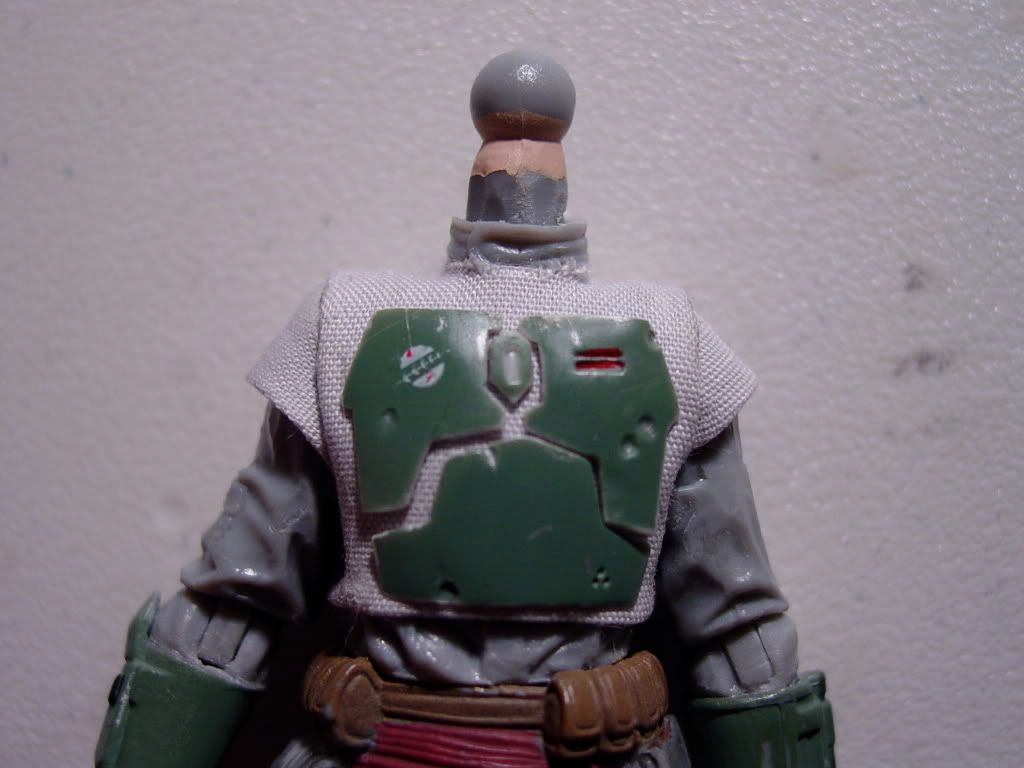
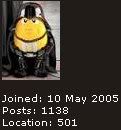
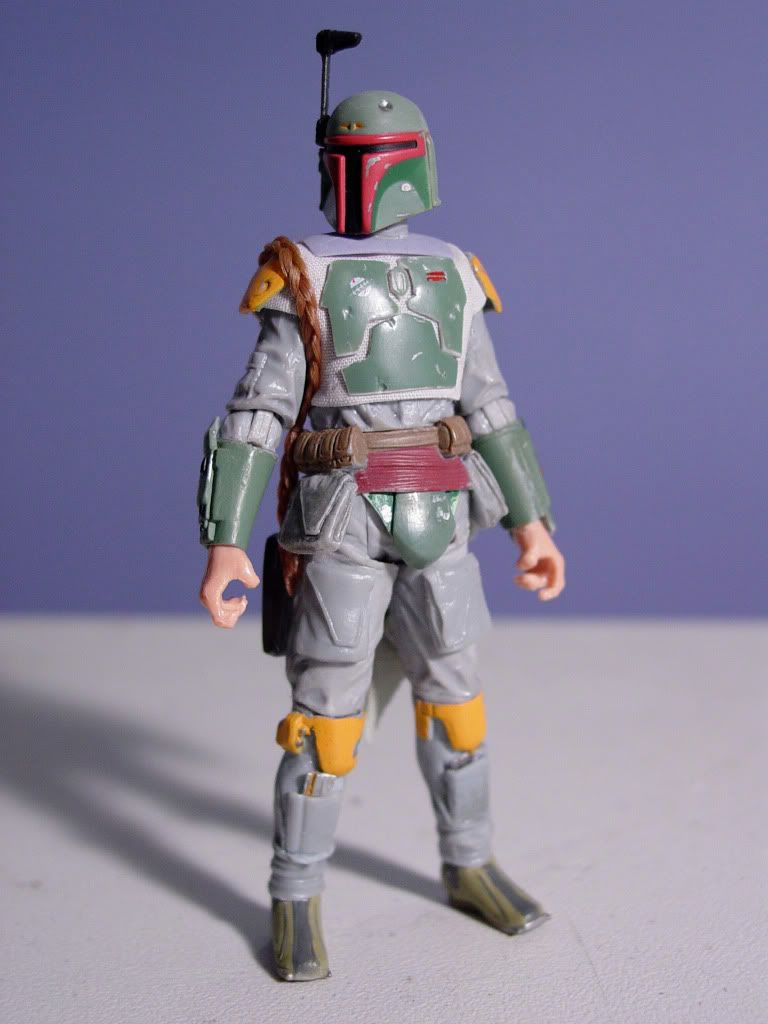
Alright, some PM'ed requests have come in for some up to date photos of the custom Boba Fett figure in it's current state. It's also been requested to make the photos a bit less "shadowy" so that all details of the figure are visible.
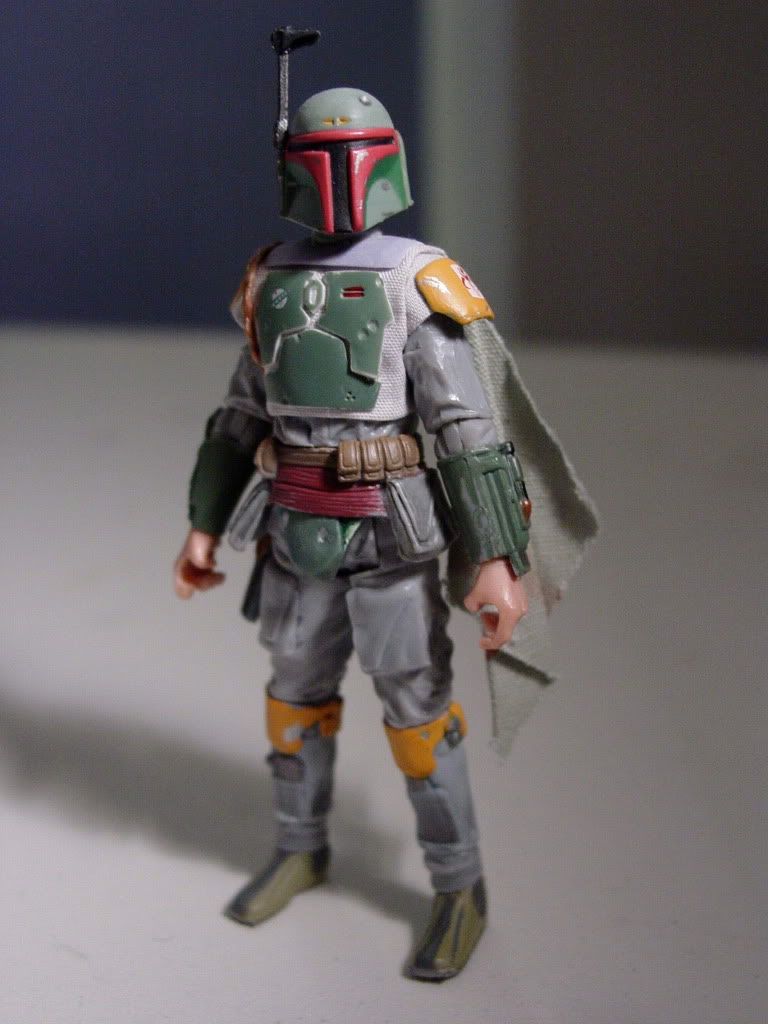
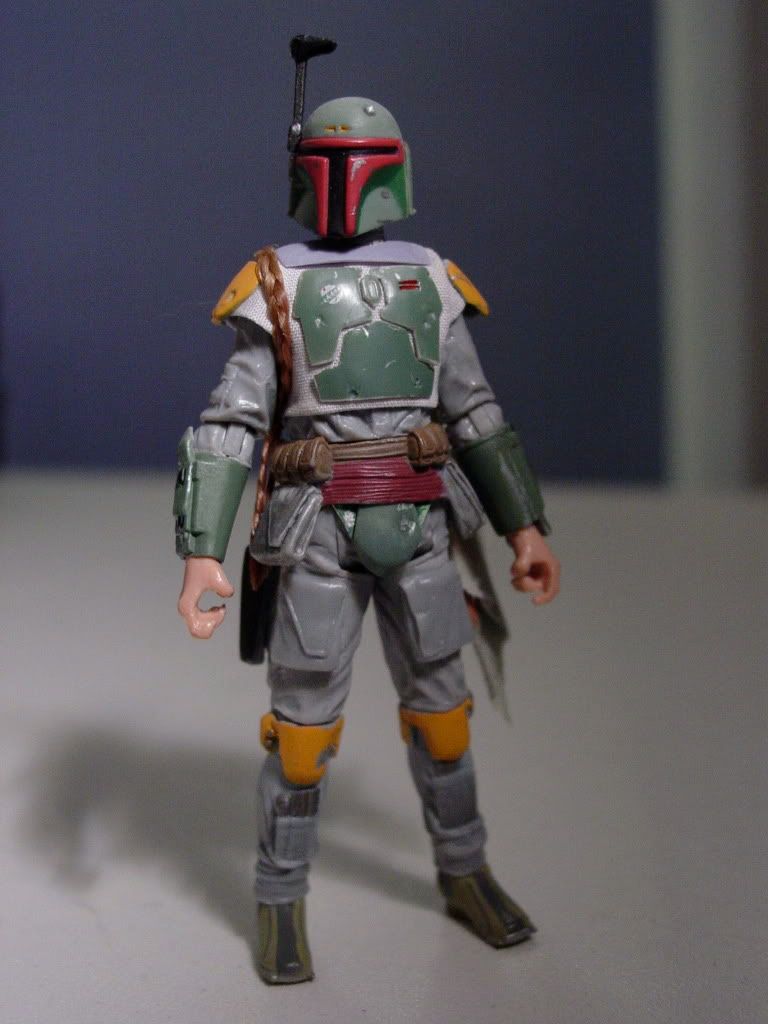
Well here are some new photos more frontally lit.
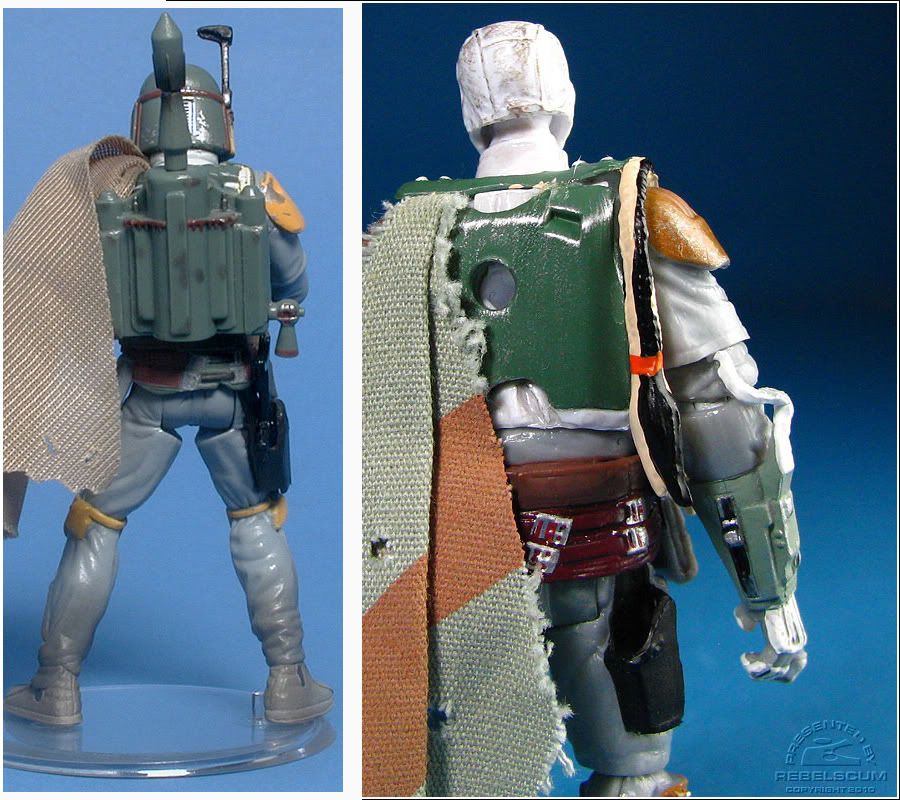
Since the last time a full body shot of the figure was taken, I added:
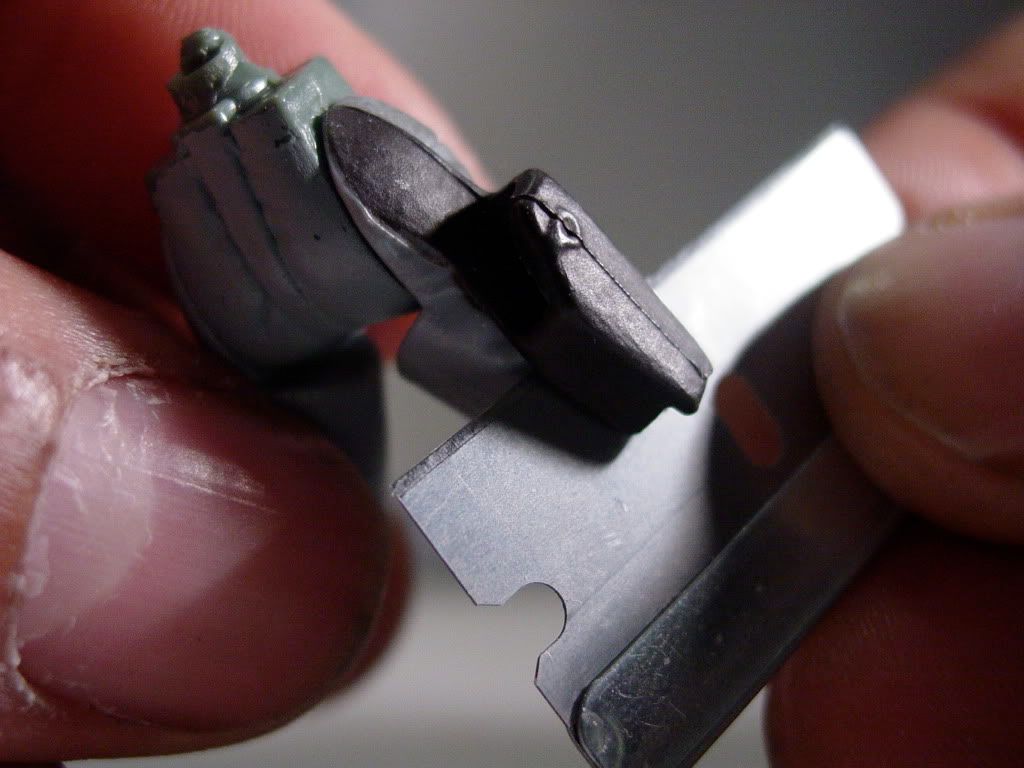
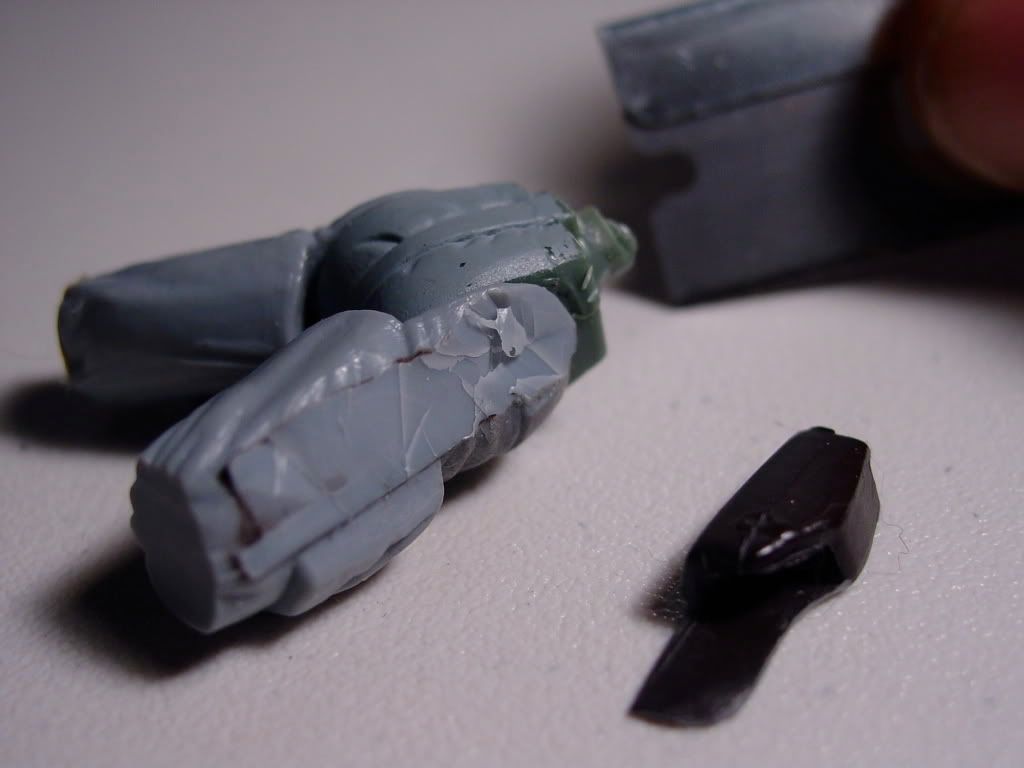
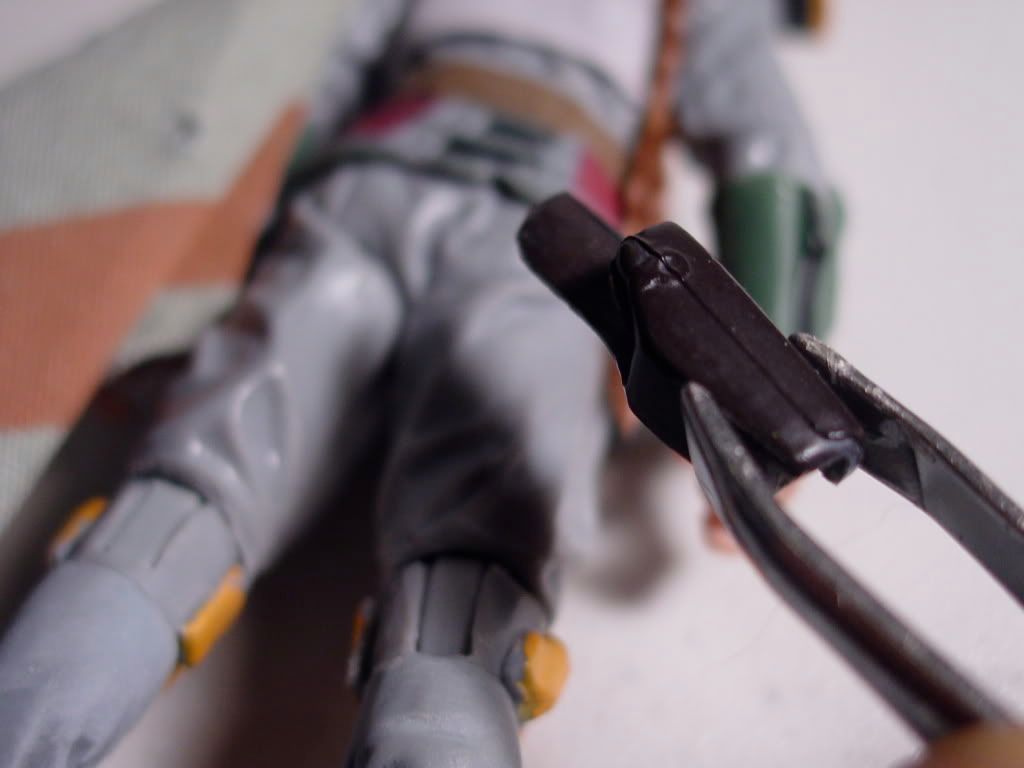
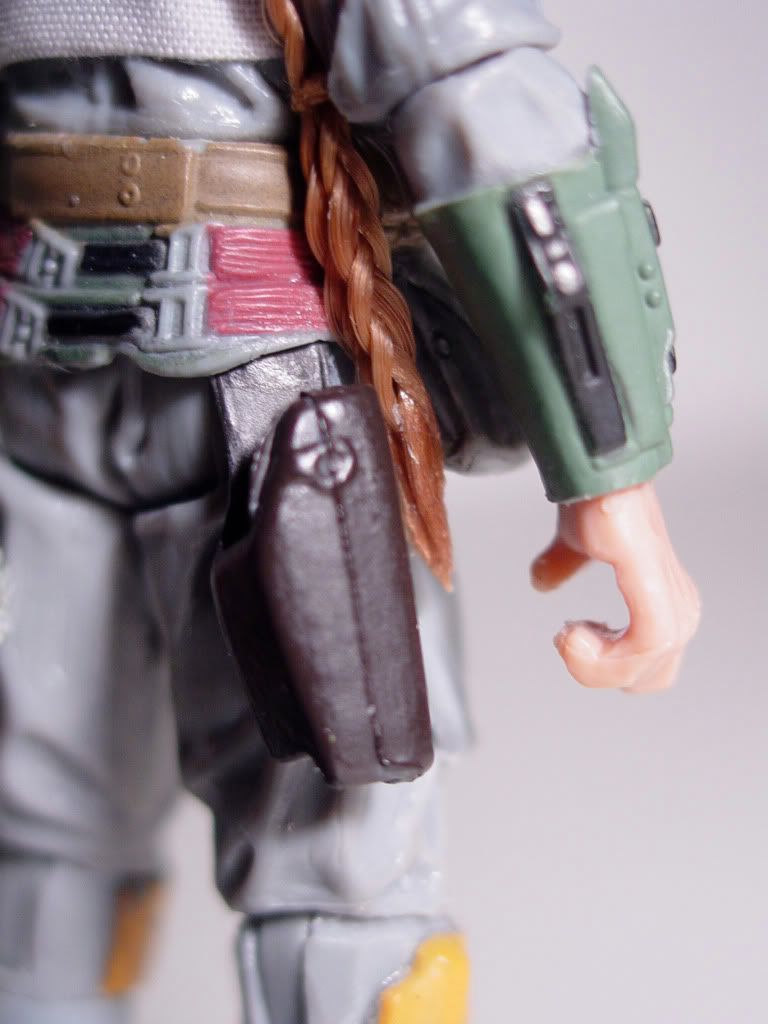
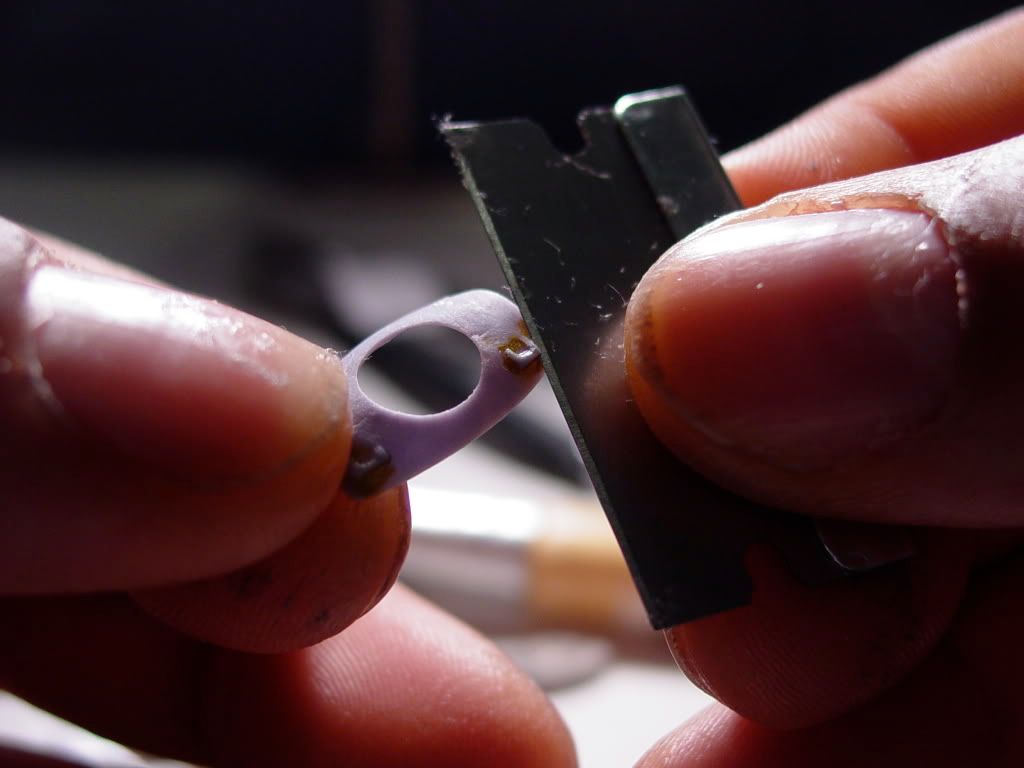
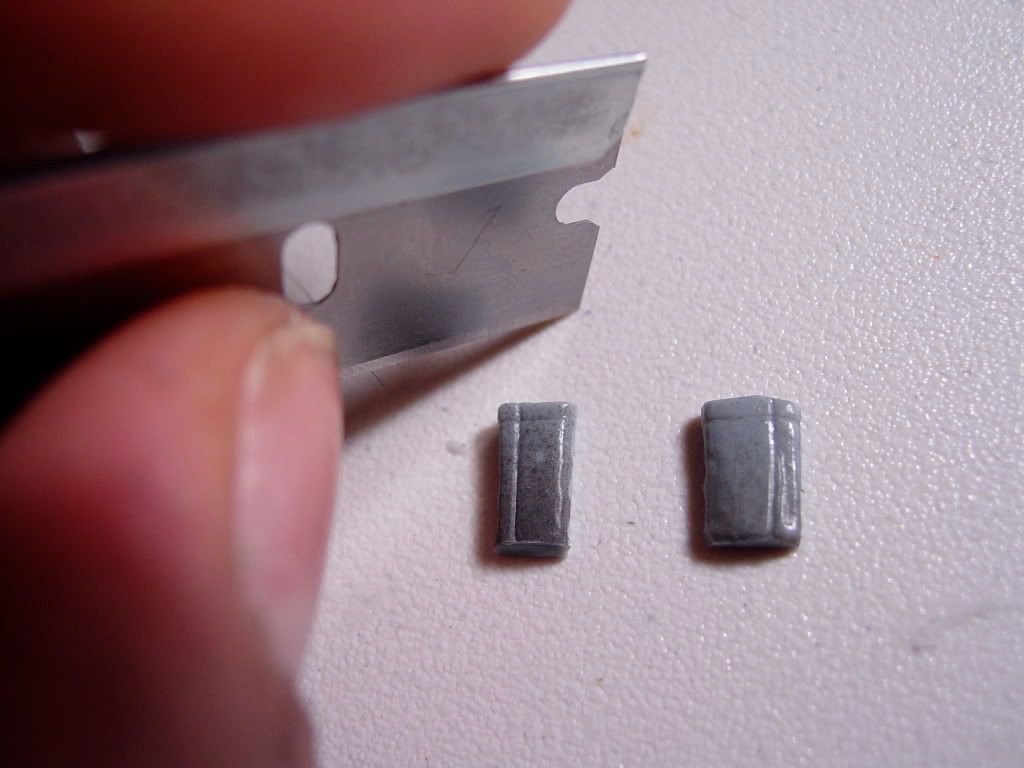
1) The Working Shin Pockets with separate Shin tools (veneers) to get away from the standard production figure's molded look. The pockets have since been made even MORE flush again the figure's shins (they were a bit too bulky before / Now they are correct).
NOTE: Looking at these new photos, I am
SOOOOO glad that I went to the trouble of creating these pockets and tools veneers. To my eyes they make such a huge difference in the final look of the figure when compared to the molded pocket/shins look.
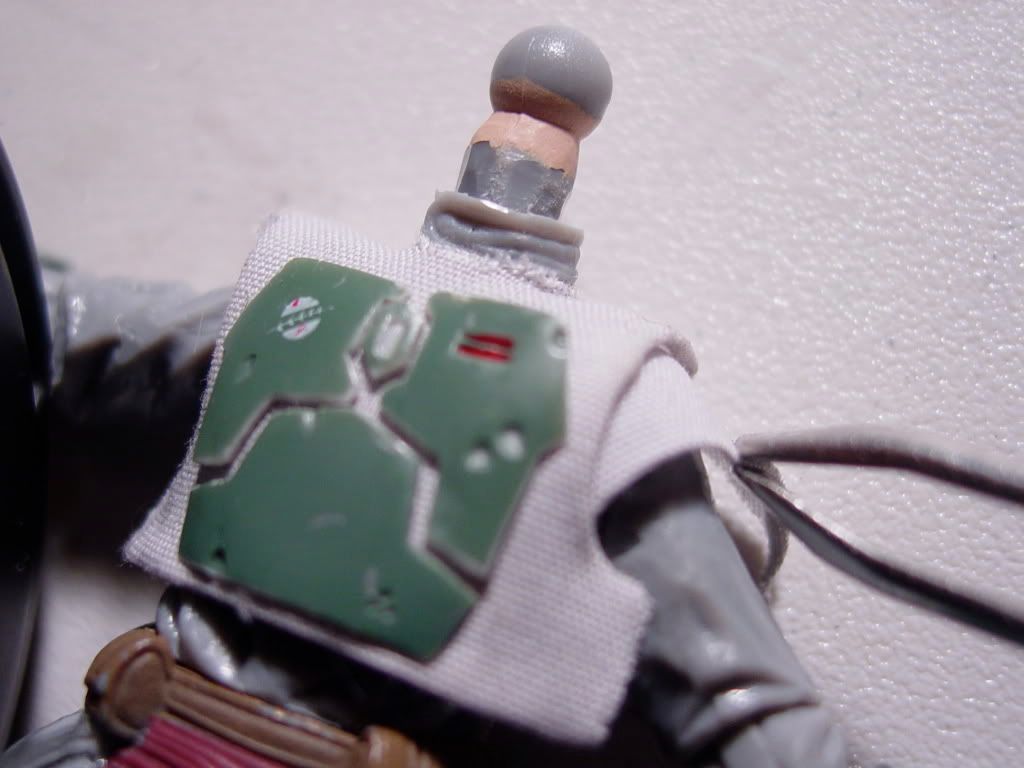
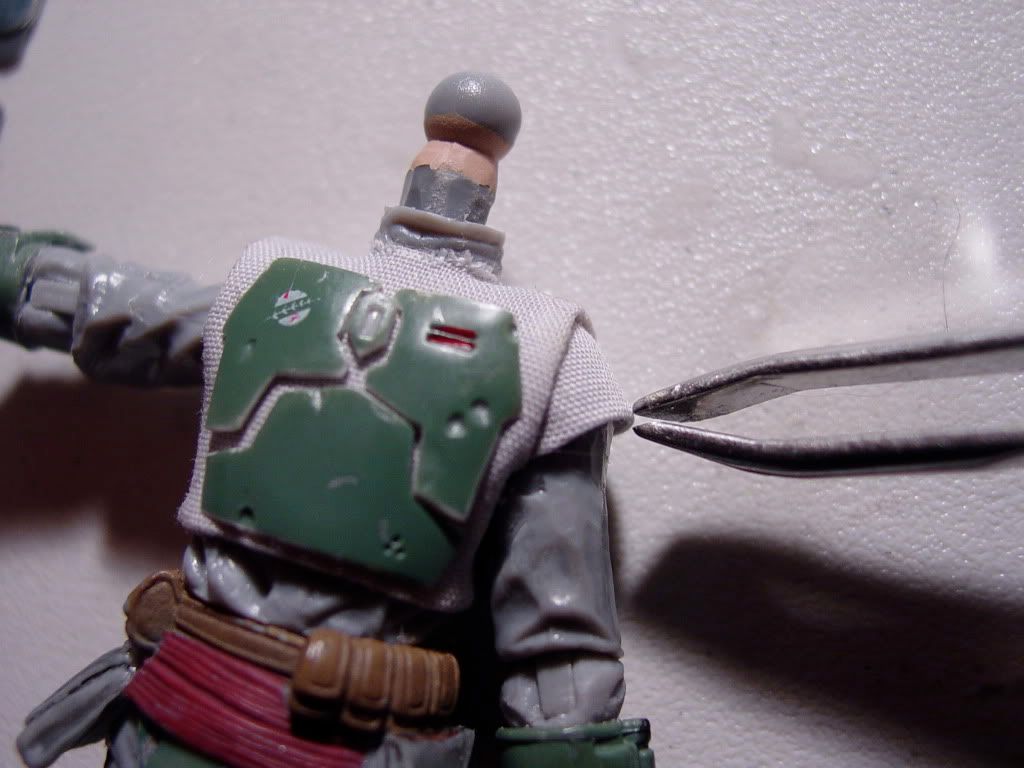
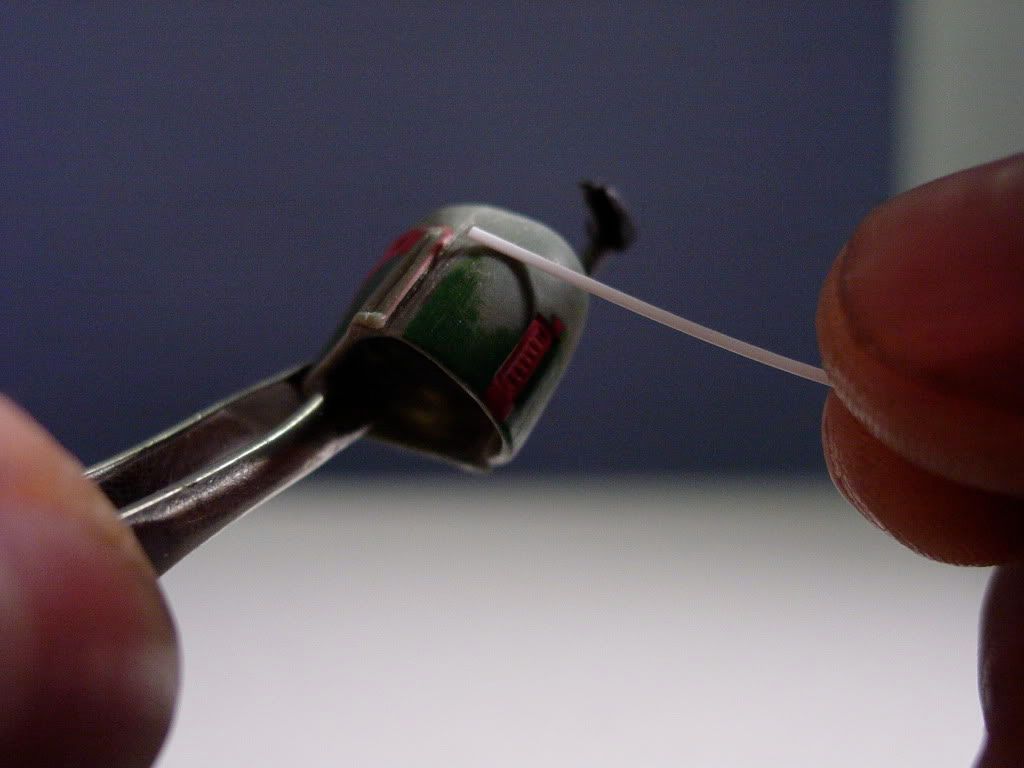
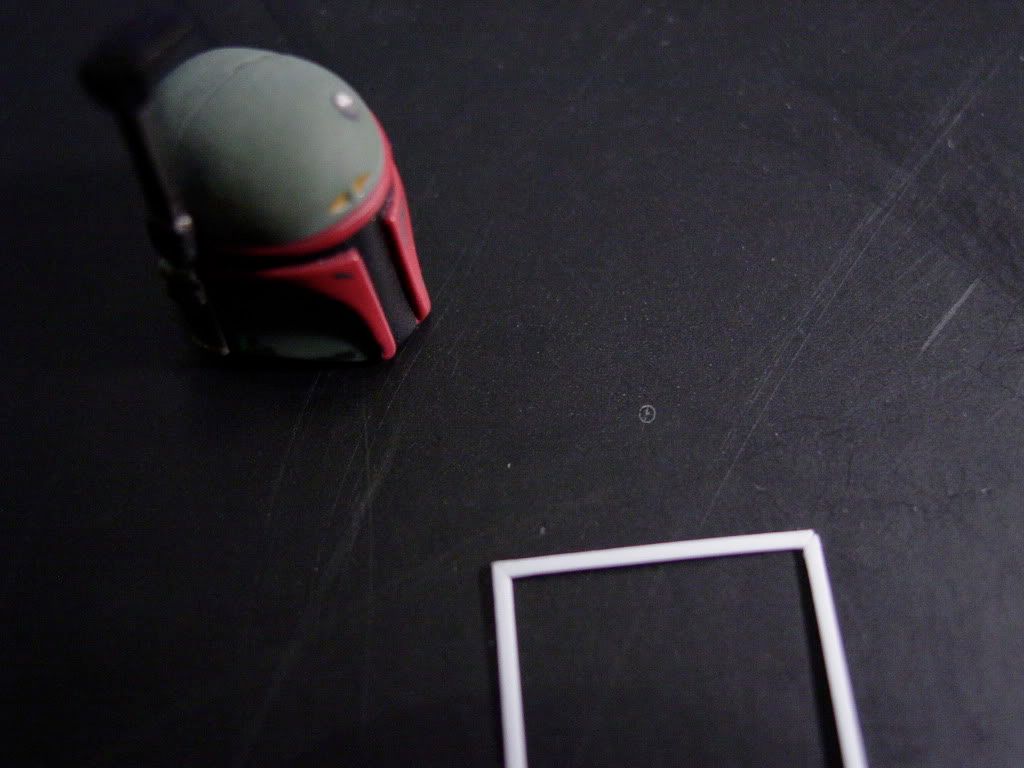
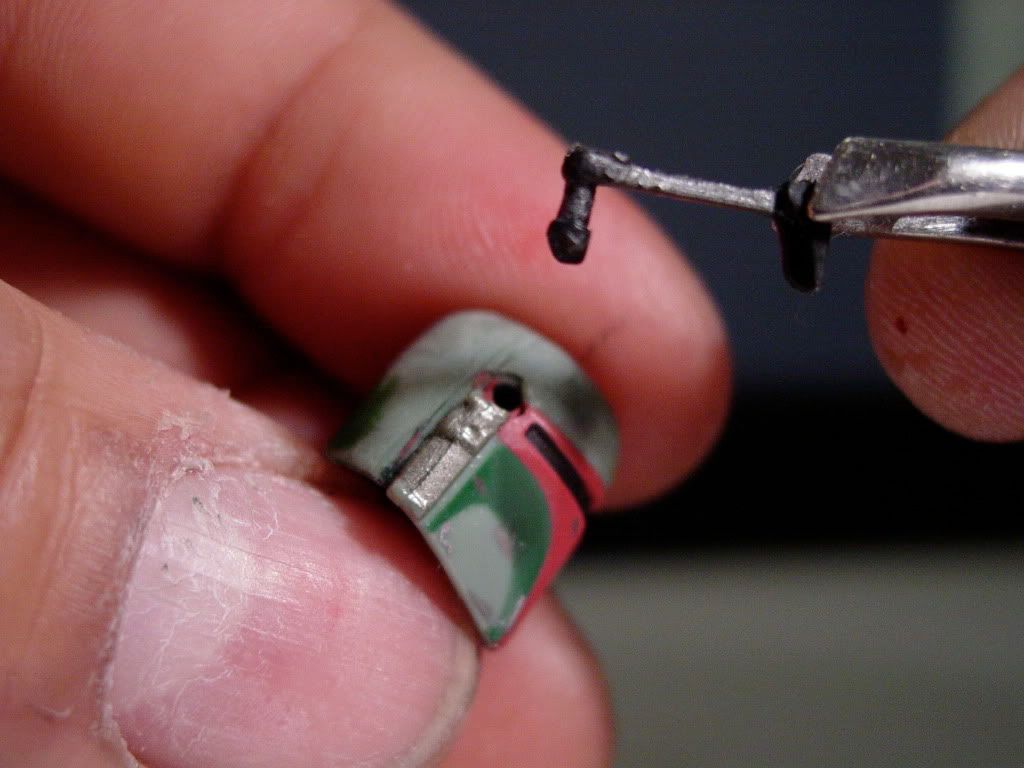
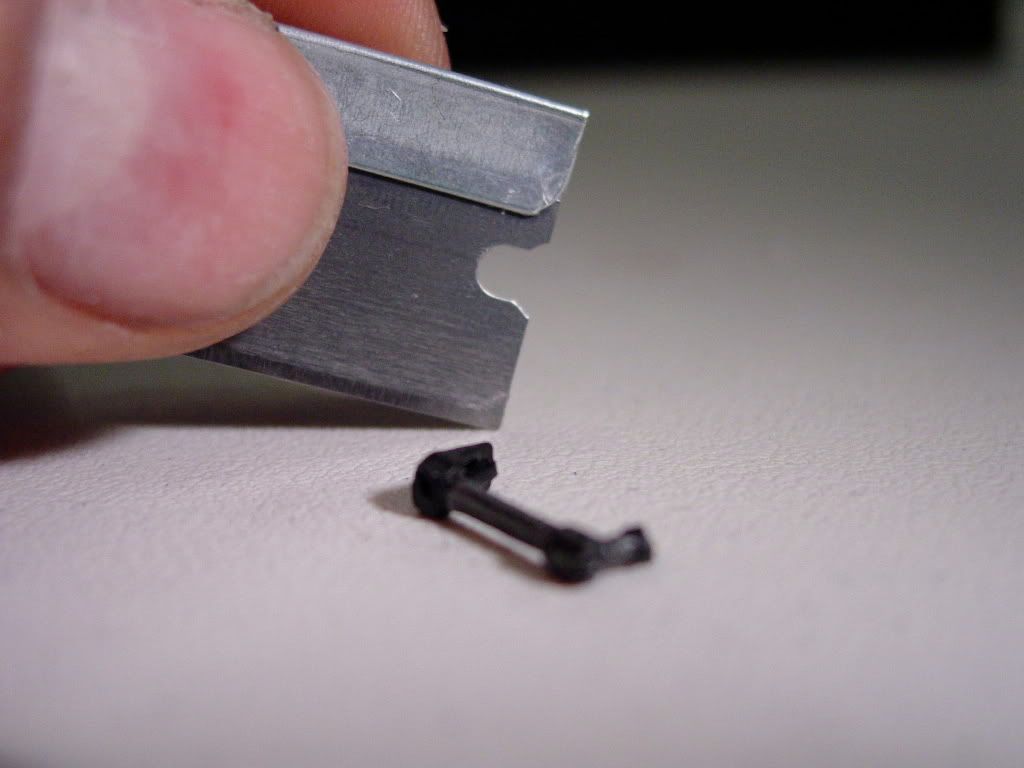
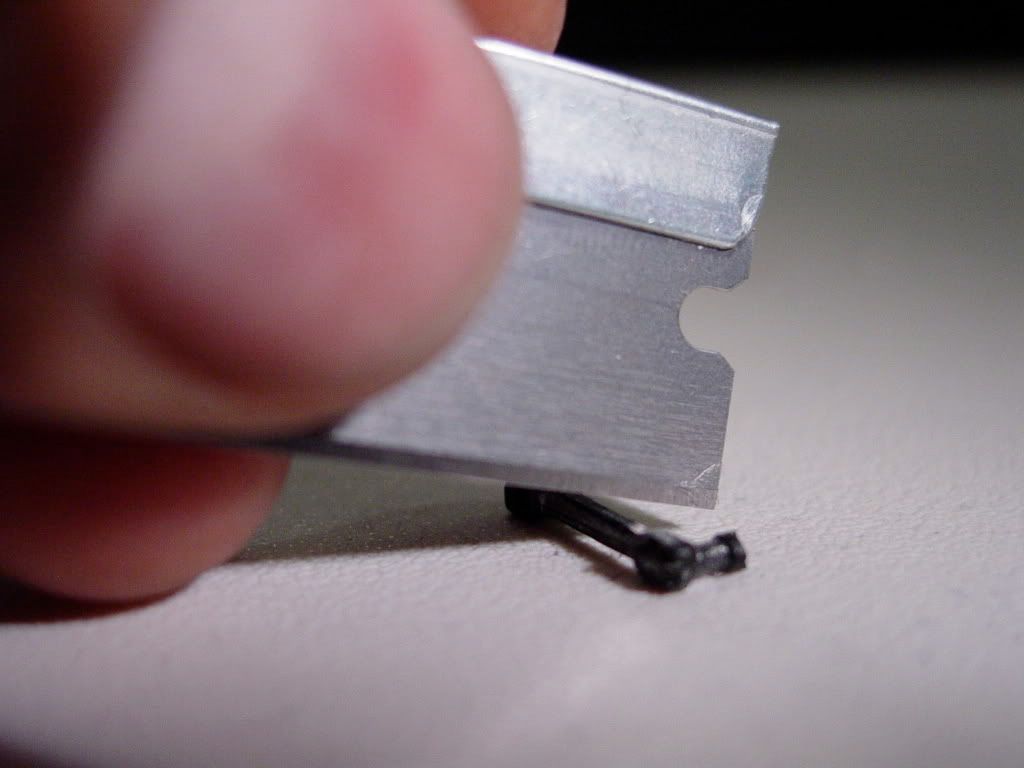
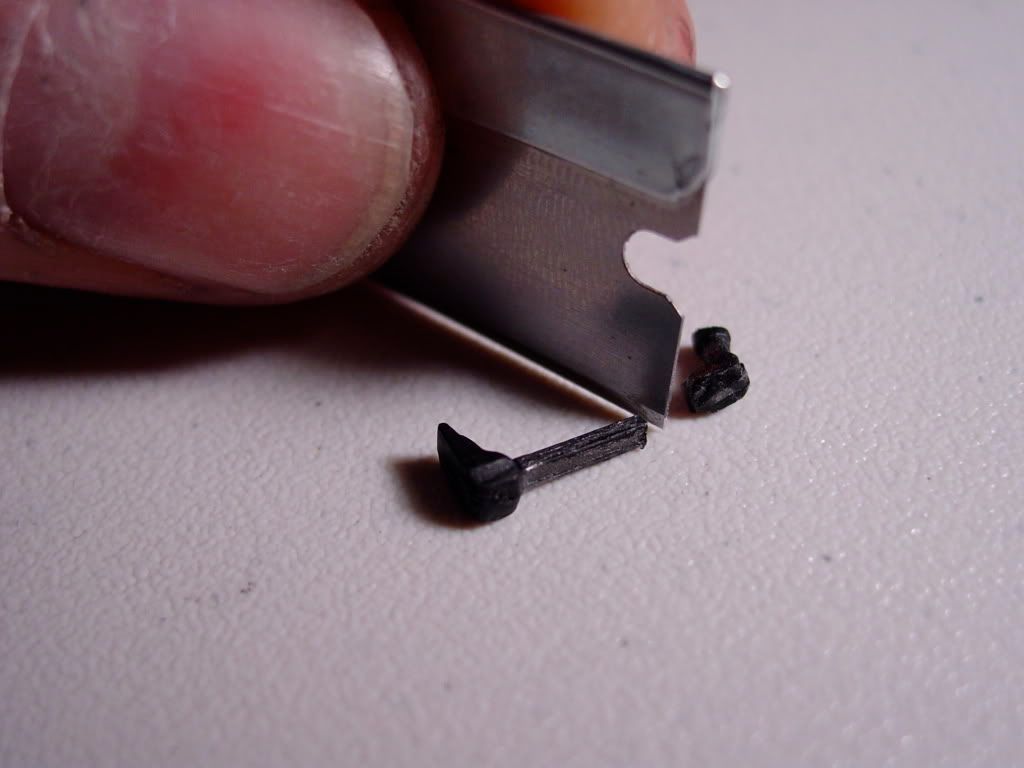
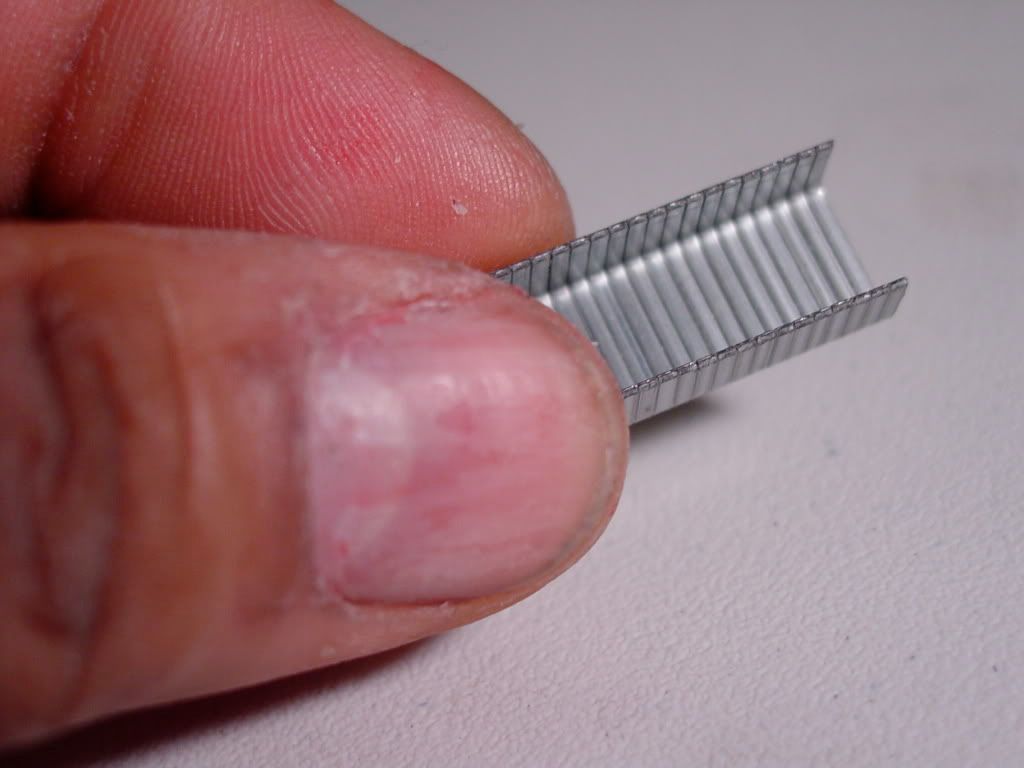
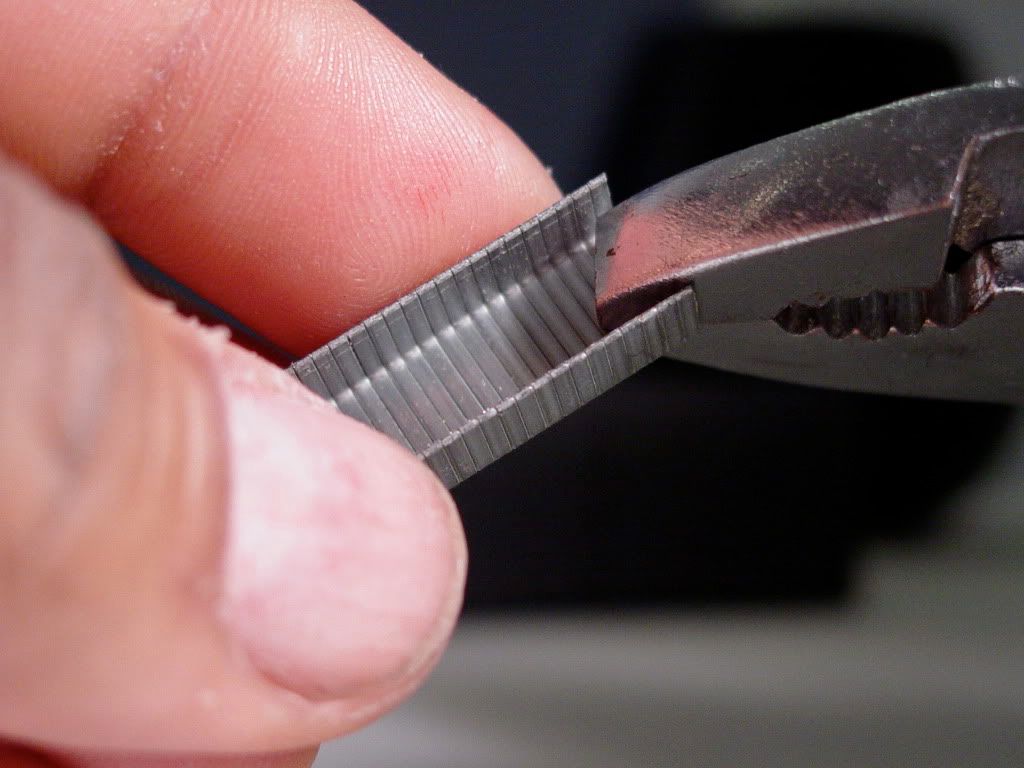
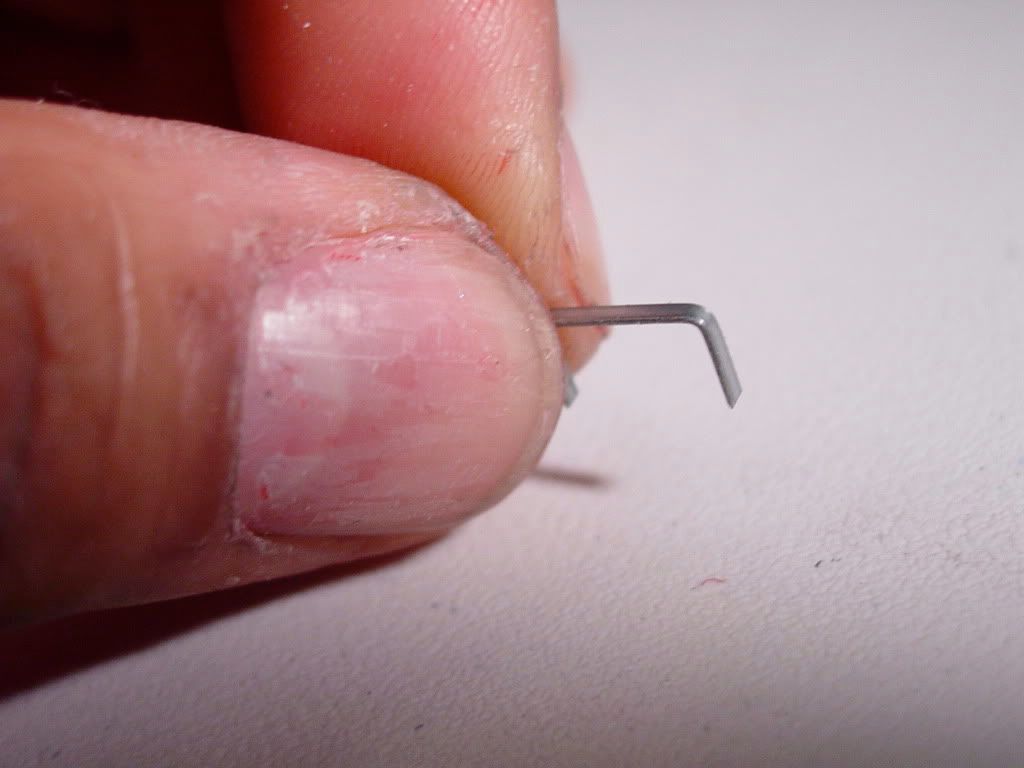
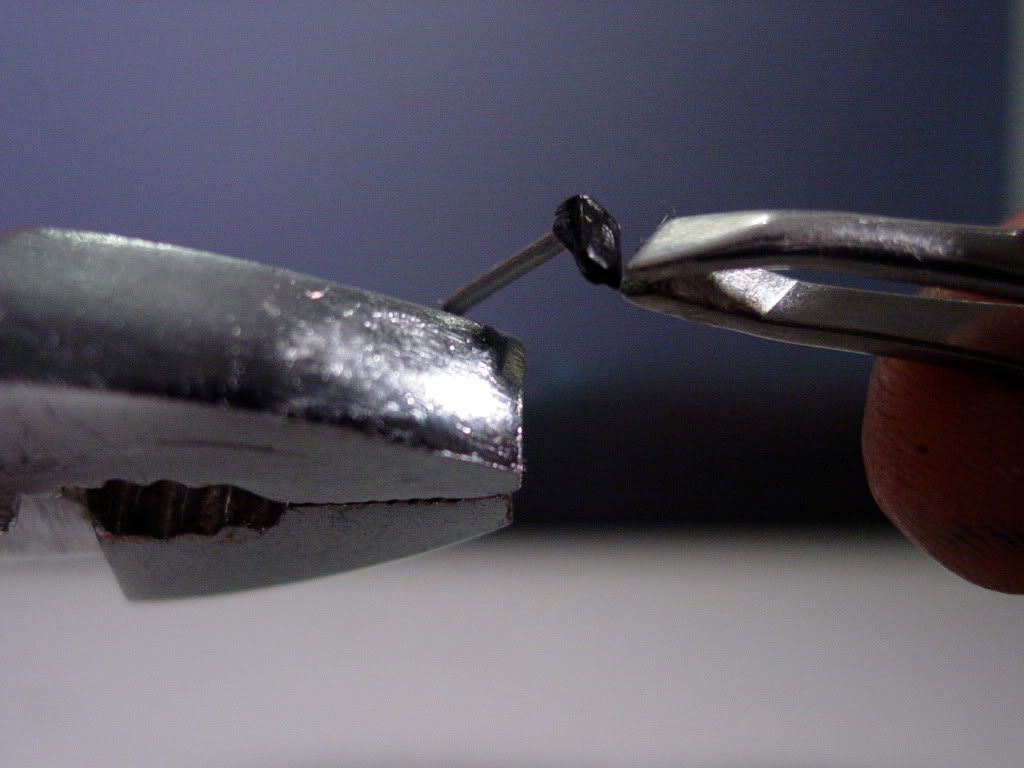
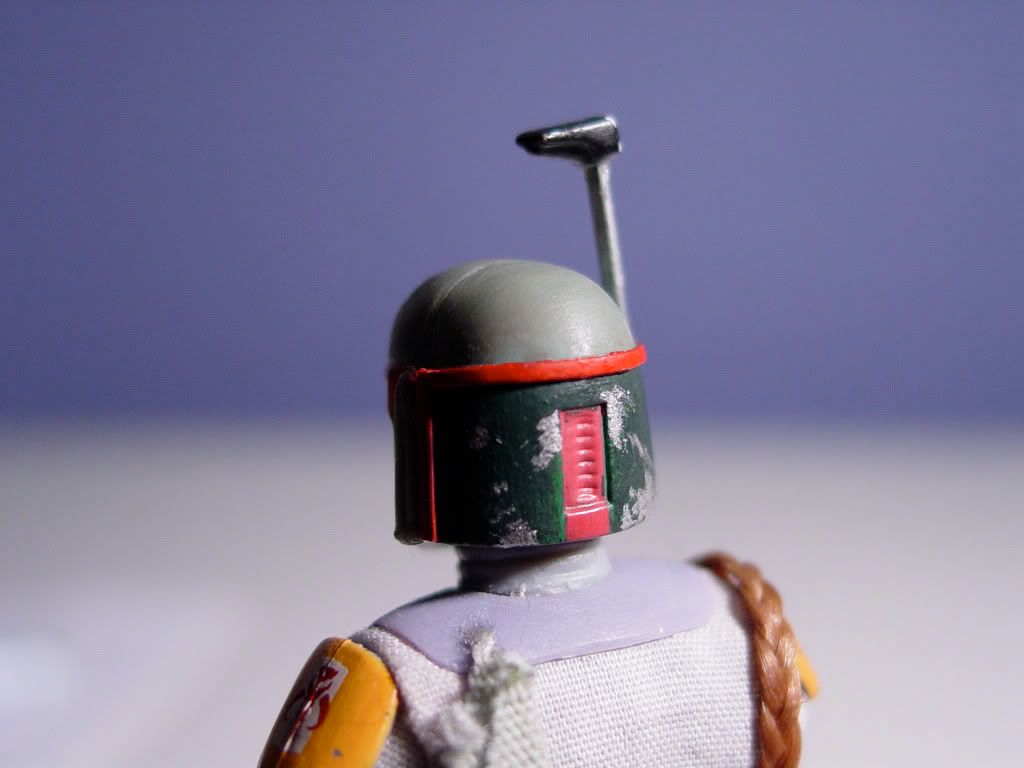
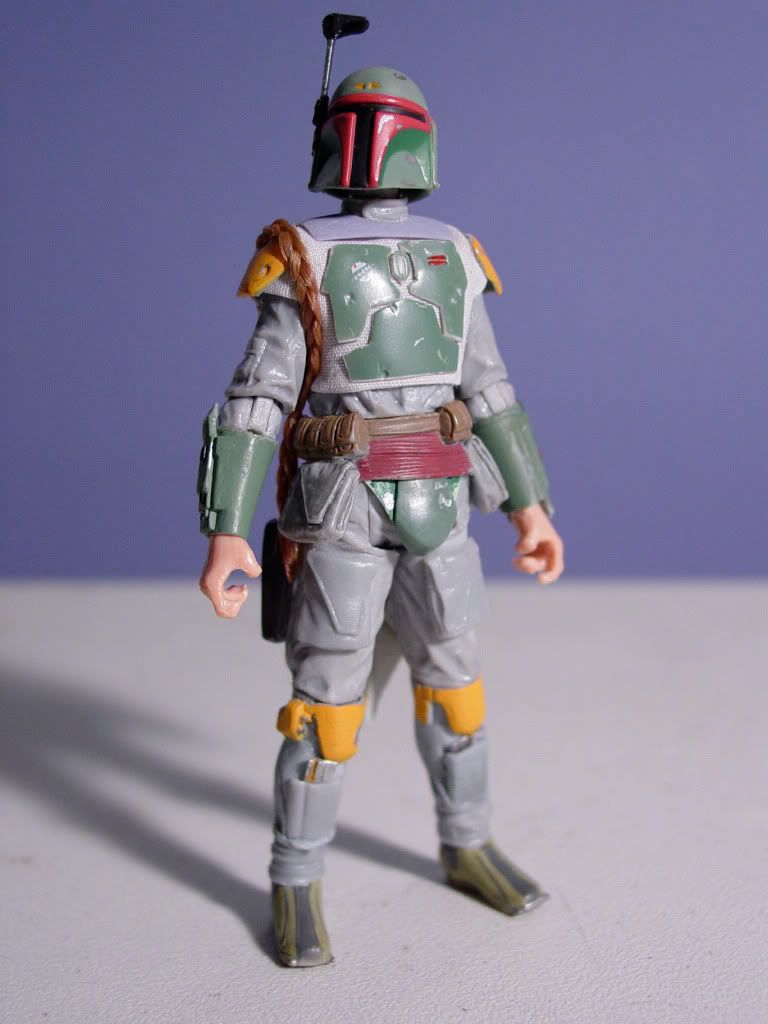
2) The stalk for the helmet's rangefinder has been made much stronger, straighter, slimmer, and sturdier (with the use of a grapple gun staple)
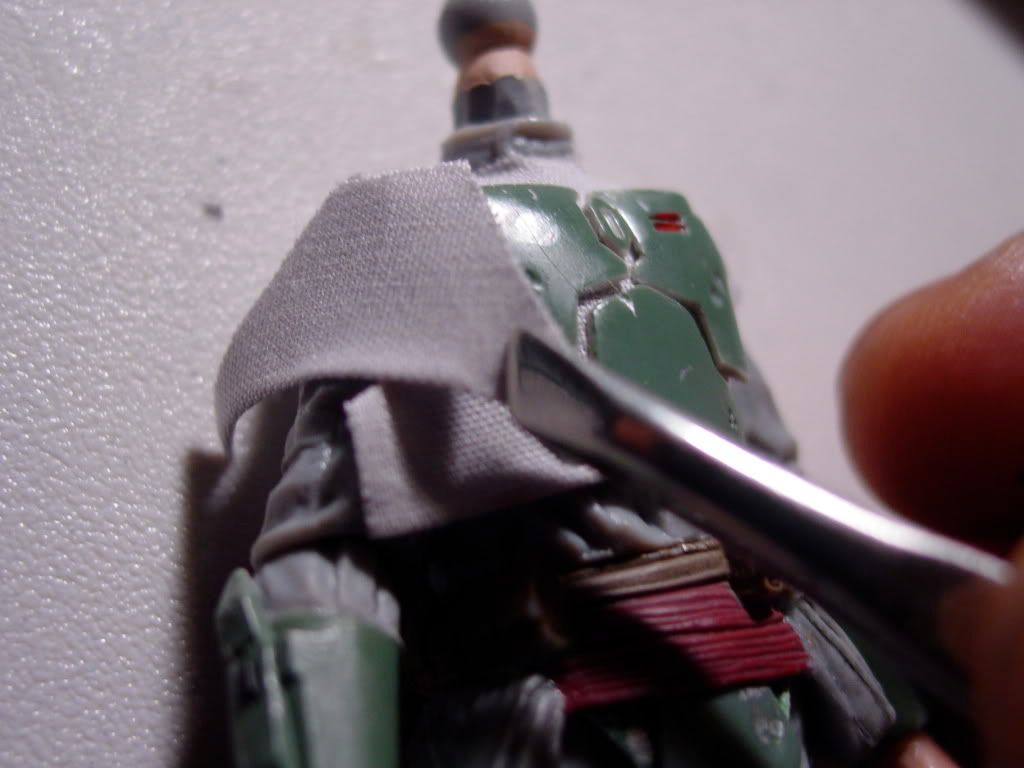
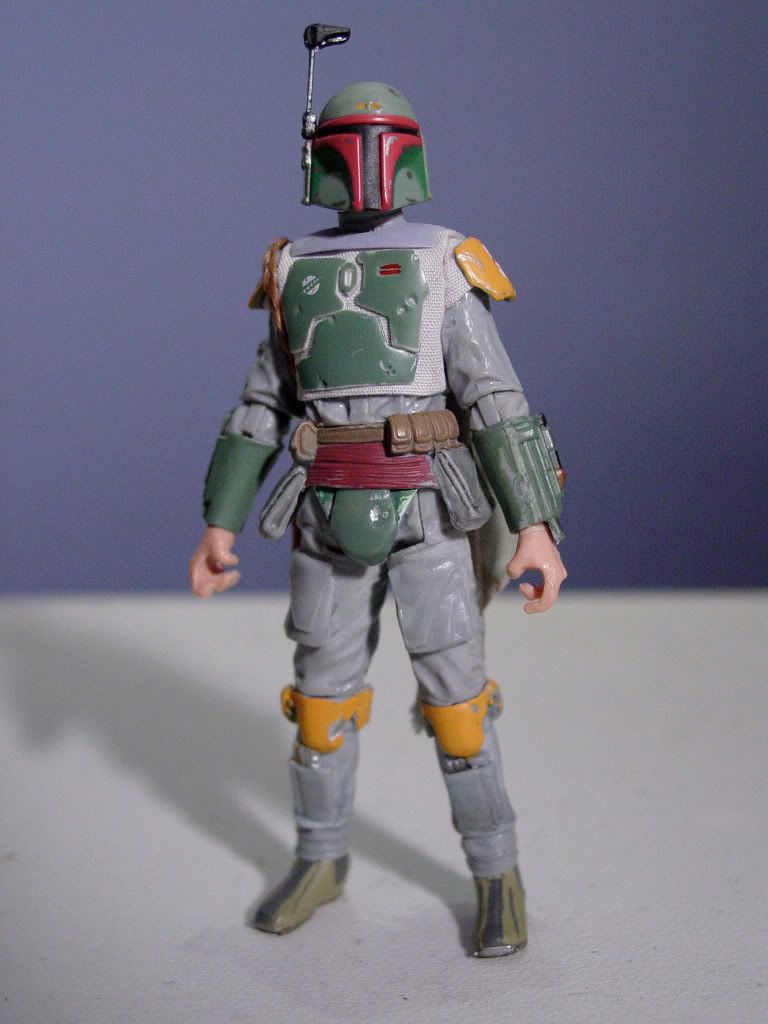
3) The rear of the helmet has had the ridge details finalized (not visible from these photos).
 DEATILS STILL PENDING:
1)
DEATILS STILL PENDING:
1) All pieces of armor (crotch, torso plates, backpack mount, collar armor) painted (if needed) and final glue.
2) Fastening straps added to the the backs of armored knee pads, and to the underside of crotch armor.
3) Final gloved hands painted and the raised white details added to the backs of both hands
4) Bicep sleeve cuffs sculpted to both upper arms
5) Power feed tube added to right arm wrist weapon gauntlet.
6) Final decal graphics added to back rocketpack
7) Tiny fastening studs added to collar armor shoulder seams. Aperature drilled into collar armor for side cape fastening.

Correct color wookie braids (3 strands) added and bundled with correct red and black bands.
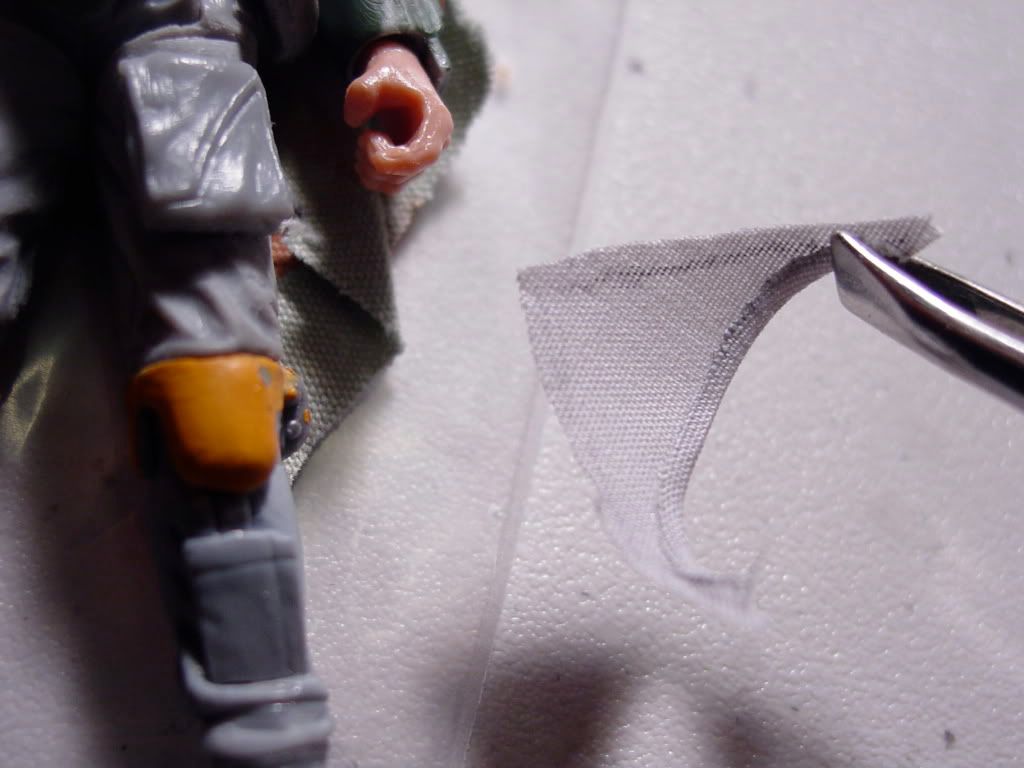
9) Flack vest turtle neck created in fabric to match the rest of the garment.
10) Touch ups on paint rubs on the utility belt and left hand wrist gauntlet weapon.
11) Darkening right shoulder bell into (correct) deep orange (while left shoulder bell stays the current (correct) yellow.
12) Performing silver paint touch ups on steel toe spikes and steel fastening studs on sides on armored knee pads.
13) Lastly, Laser rifle updated into correct configuration to match prop as seen in film.